
As Kestrel still had her original standing rigging from 2008, it was time to replace it. This is a pretty standard thing to do for any sailboat before a long trip, particularly if you’ll be going offshore. Having a nice, healthy standing rigging an important aspect of safety. As this was a task I was not able to DIY, I hired Puget Sound Rigging to do the work. They were great to work with and did an excellent job!
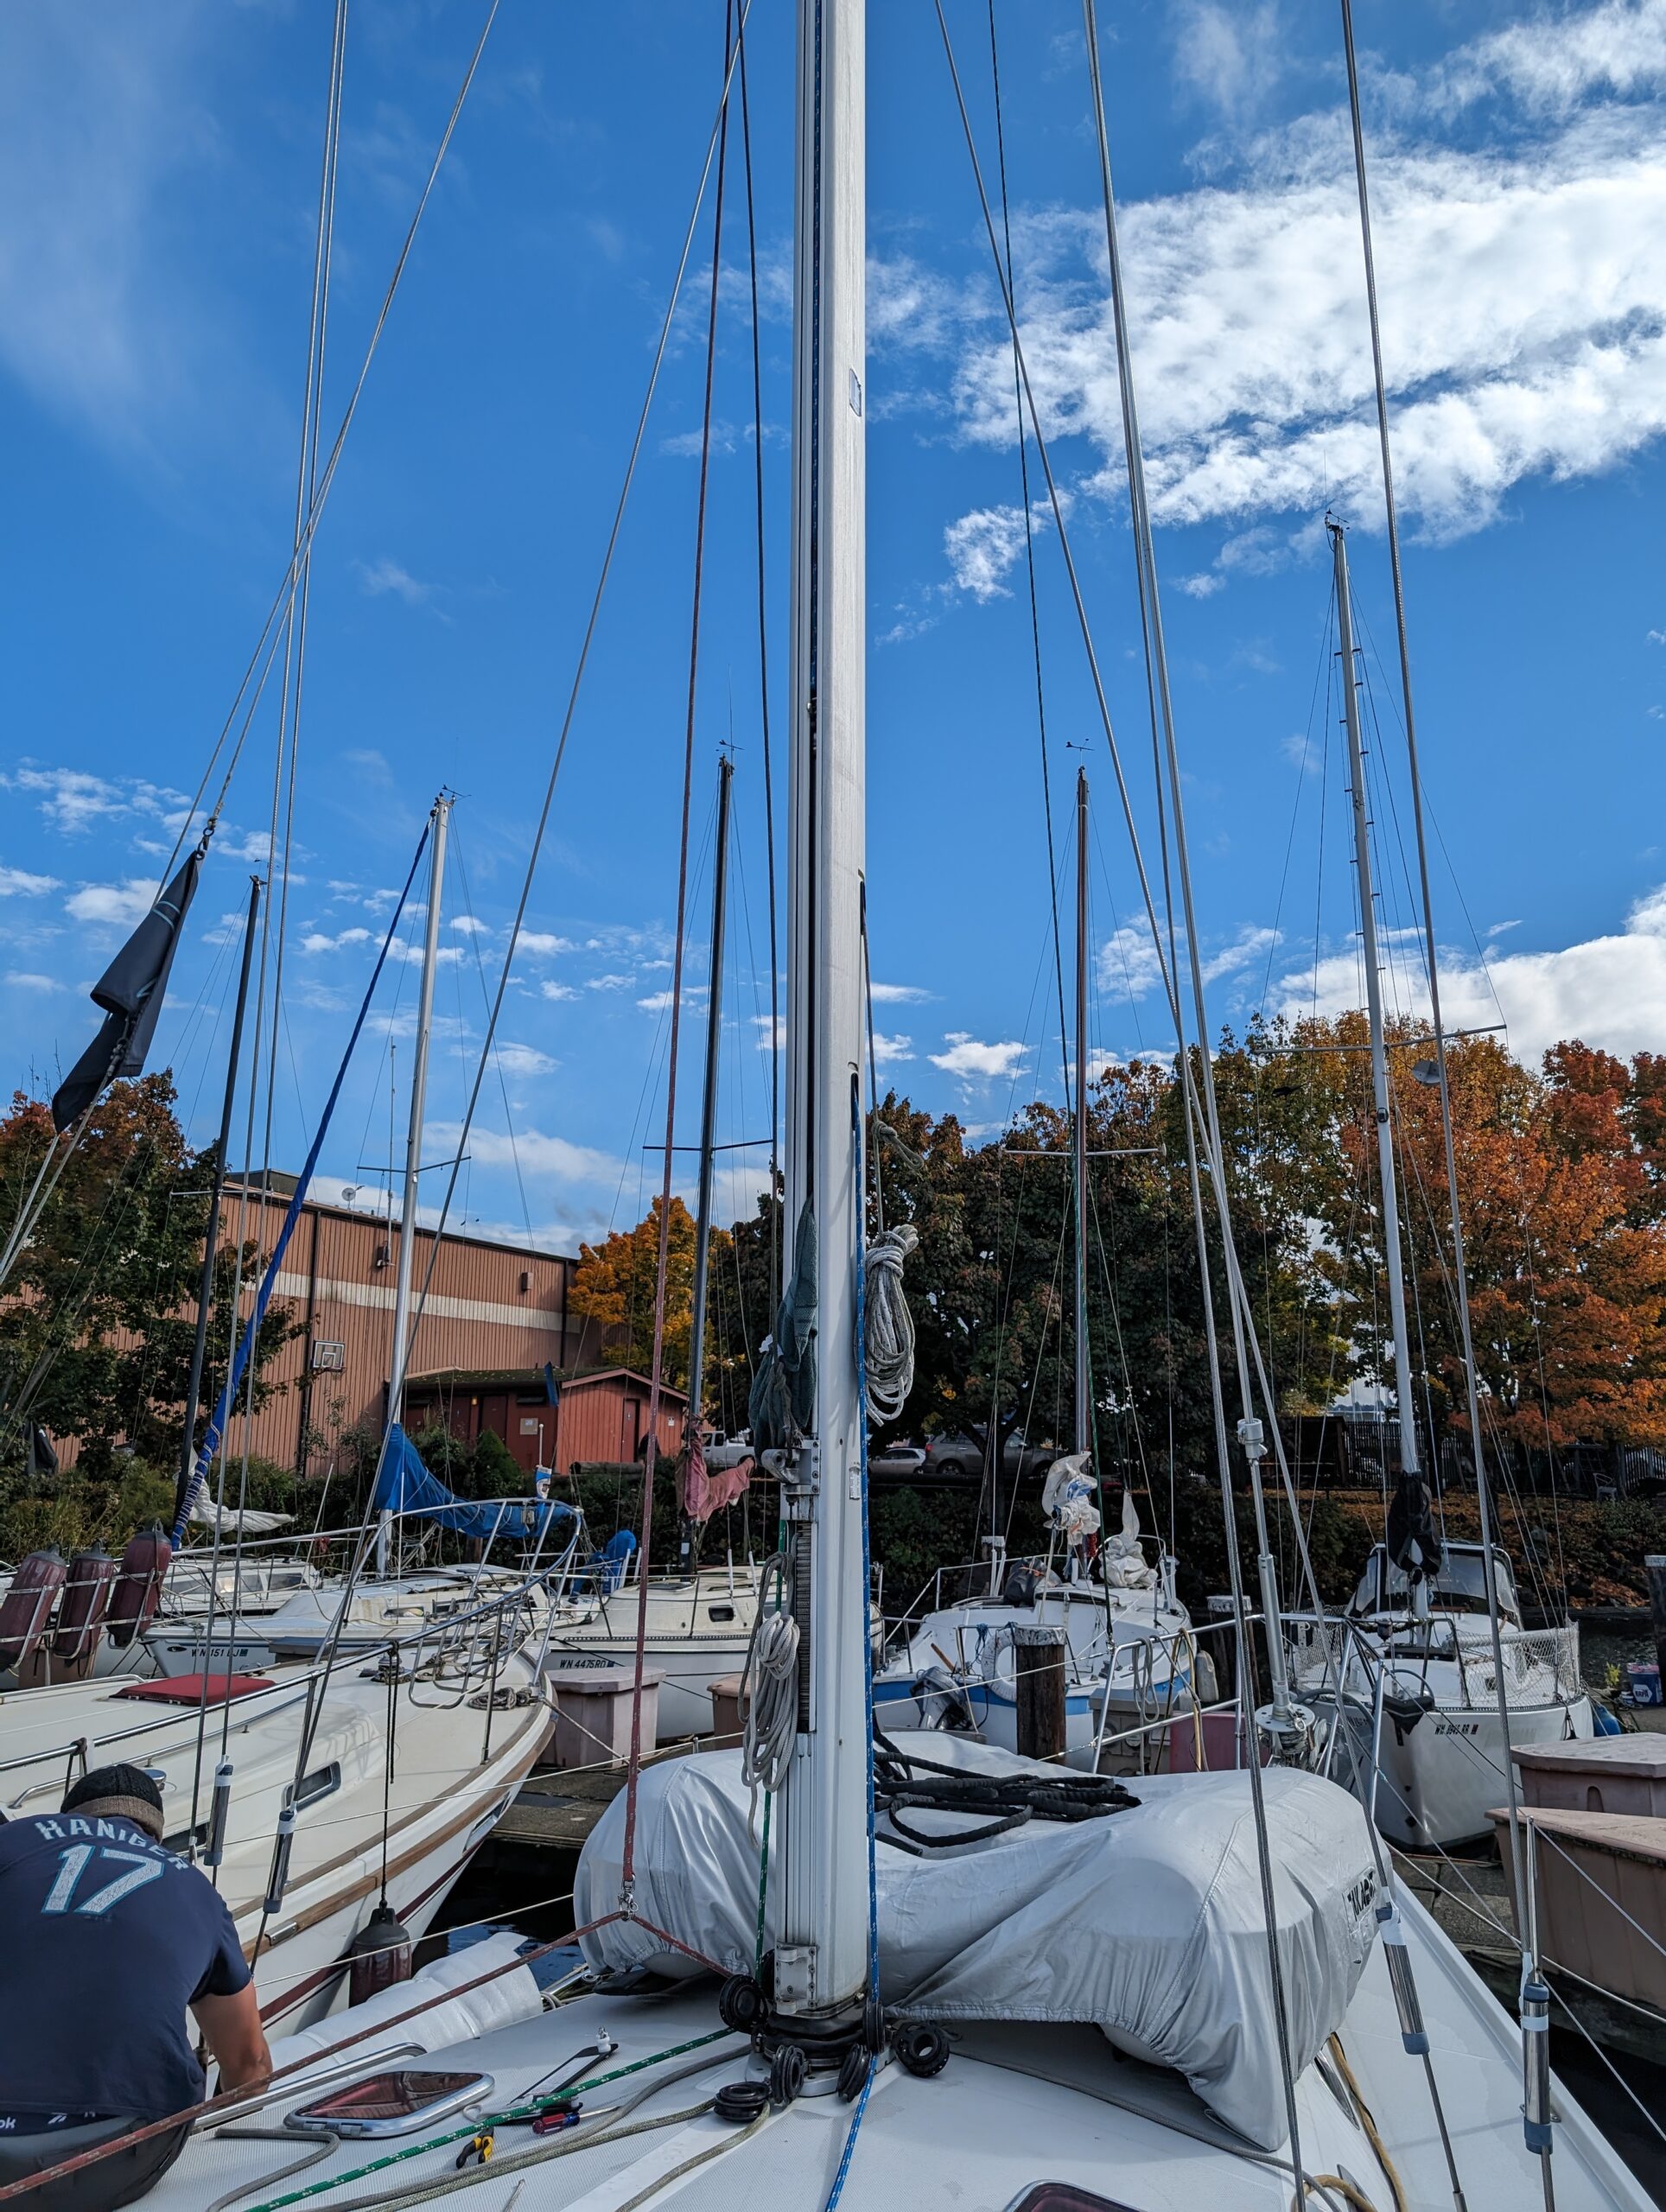
At this point, it would take the riggers a week to get all the new standing rigging ready. In the meantime, there were a few other projects to get done while the mast was down:
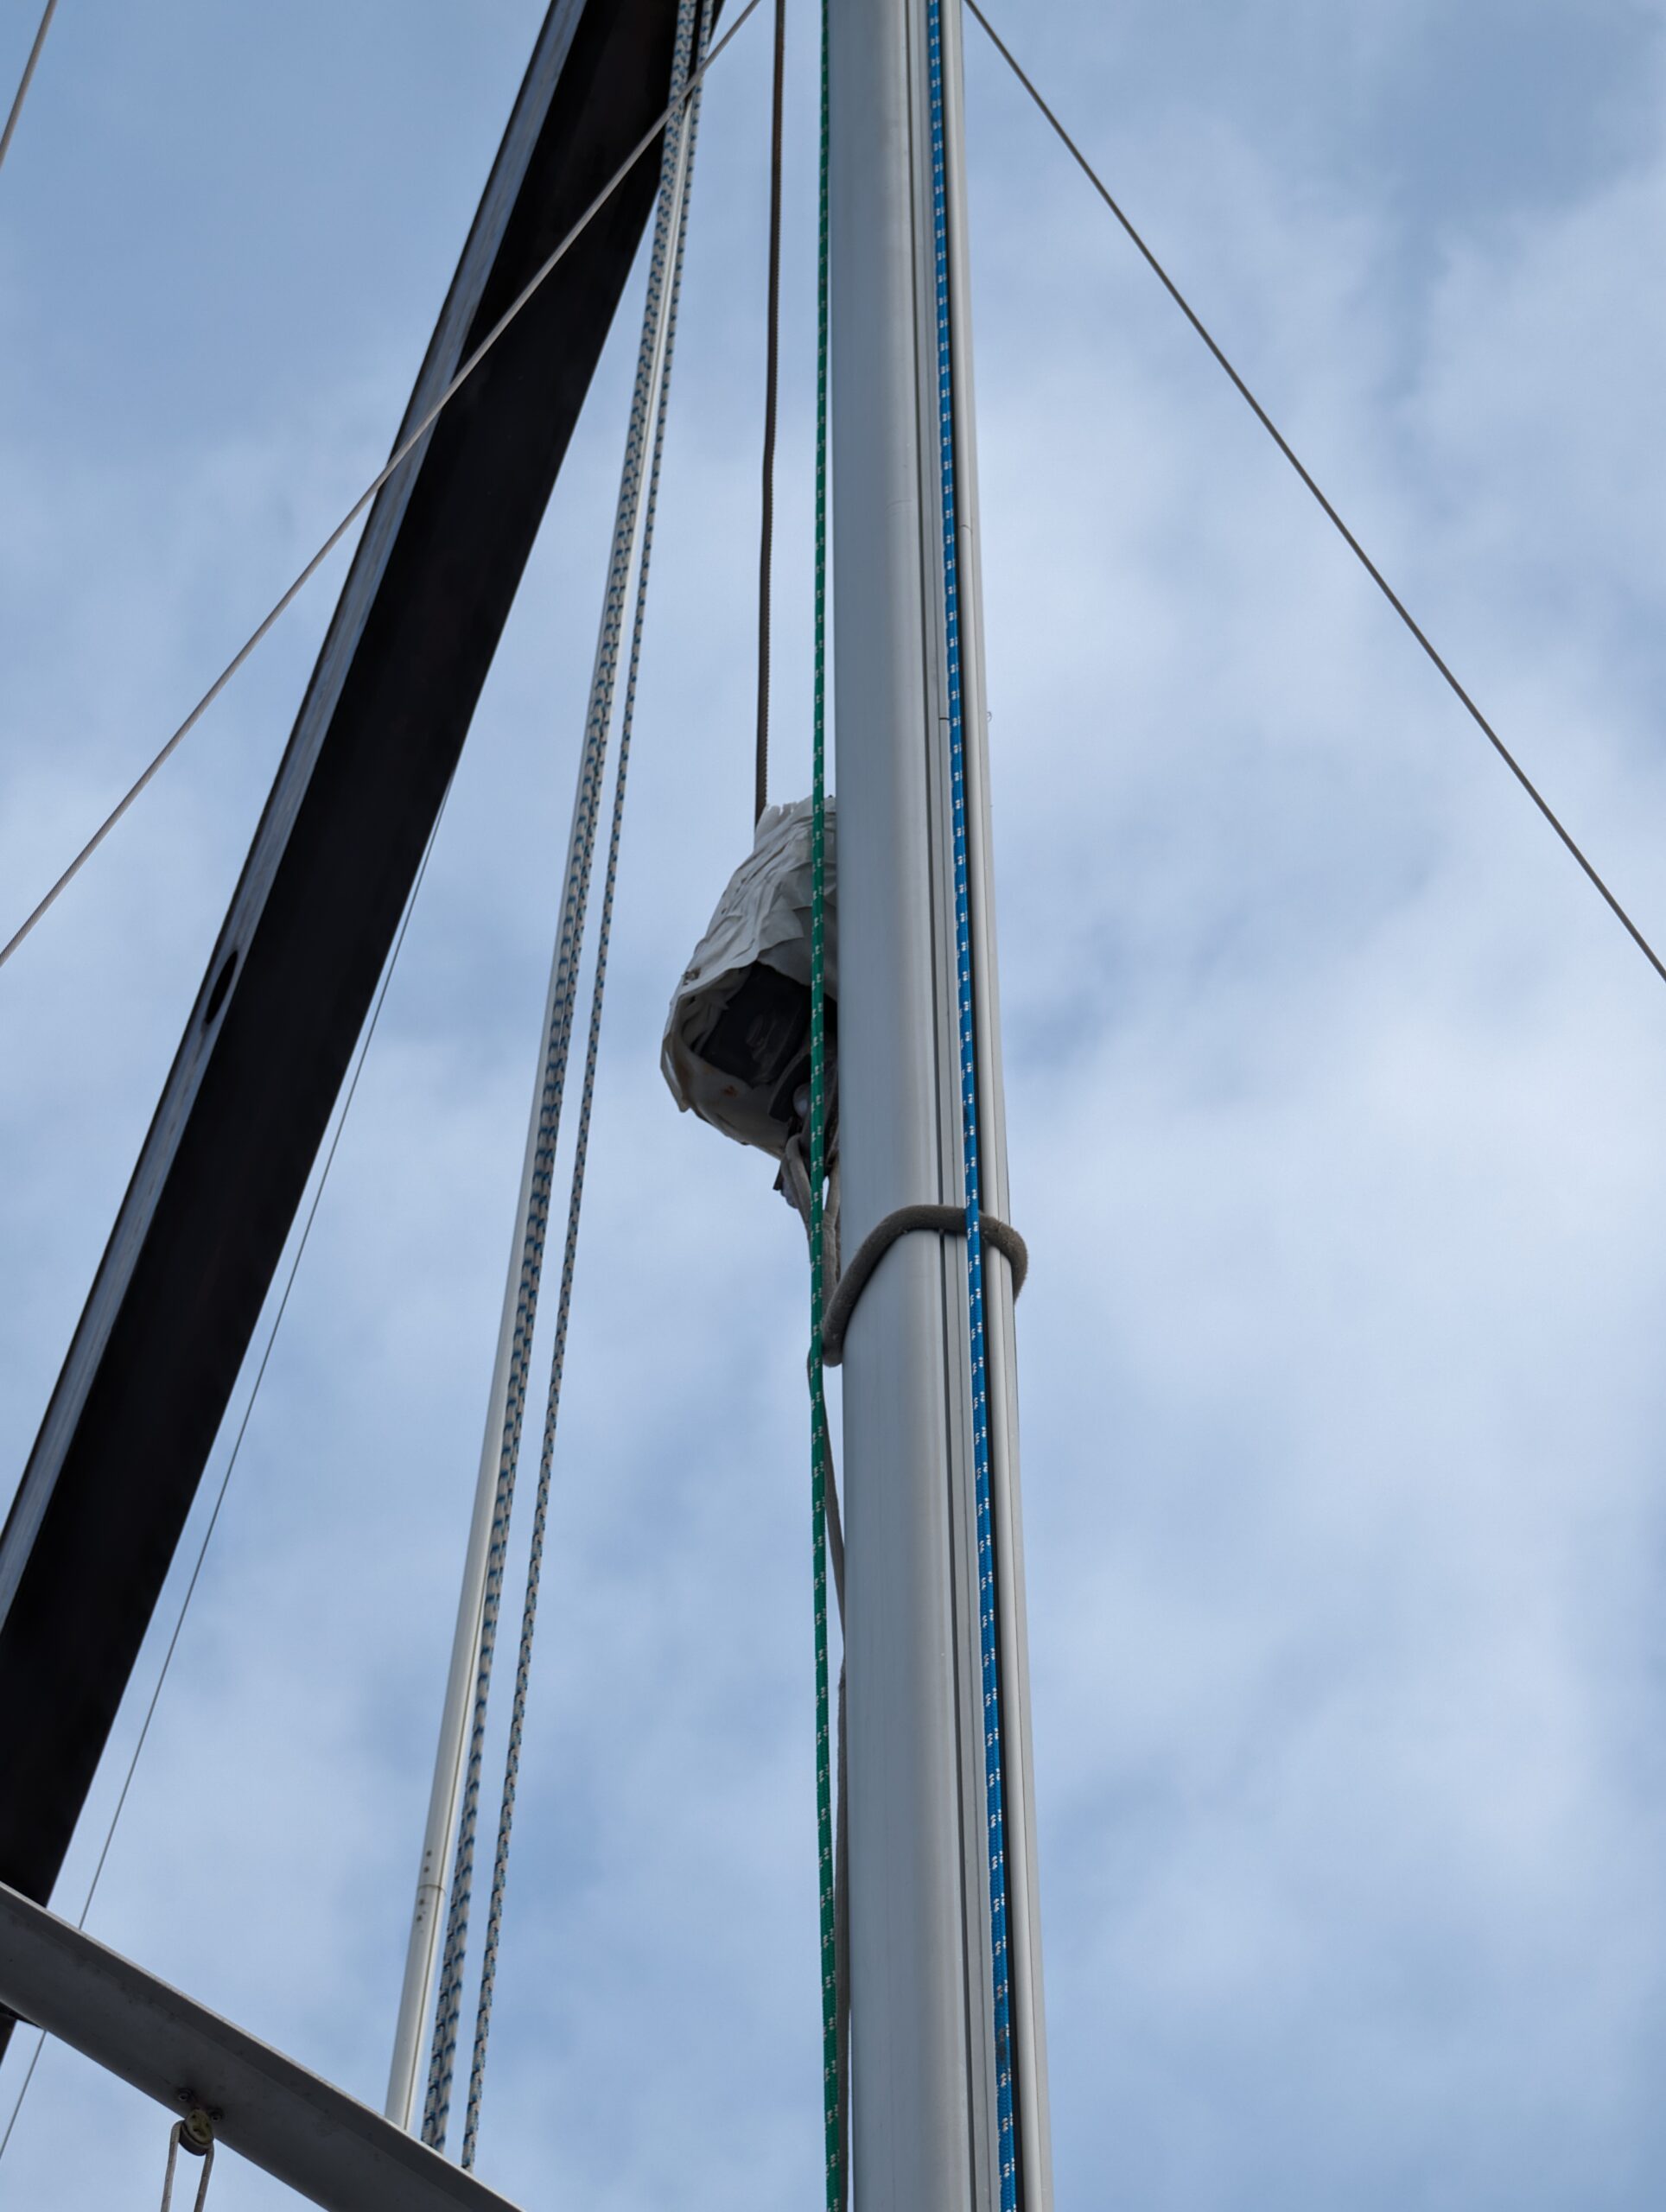
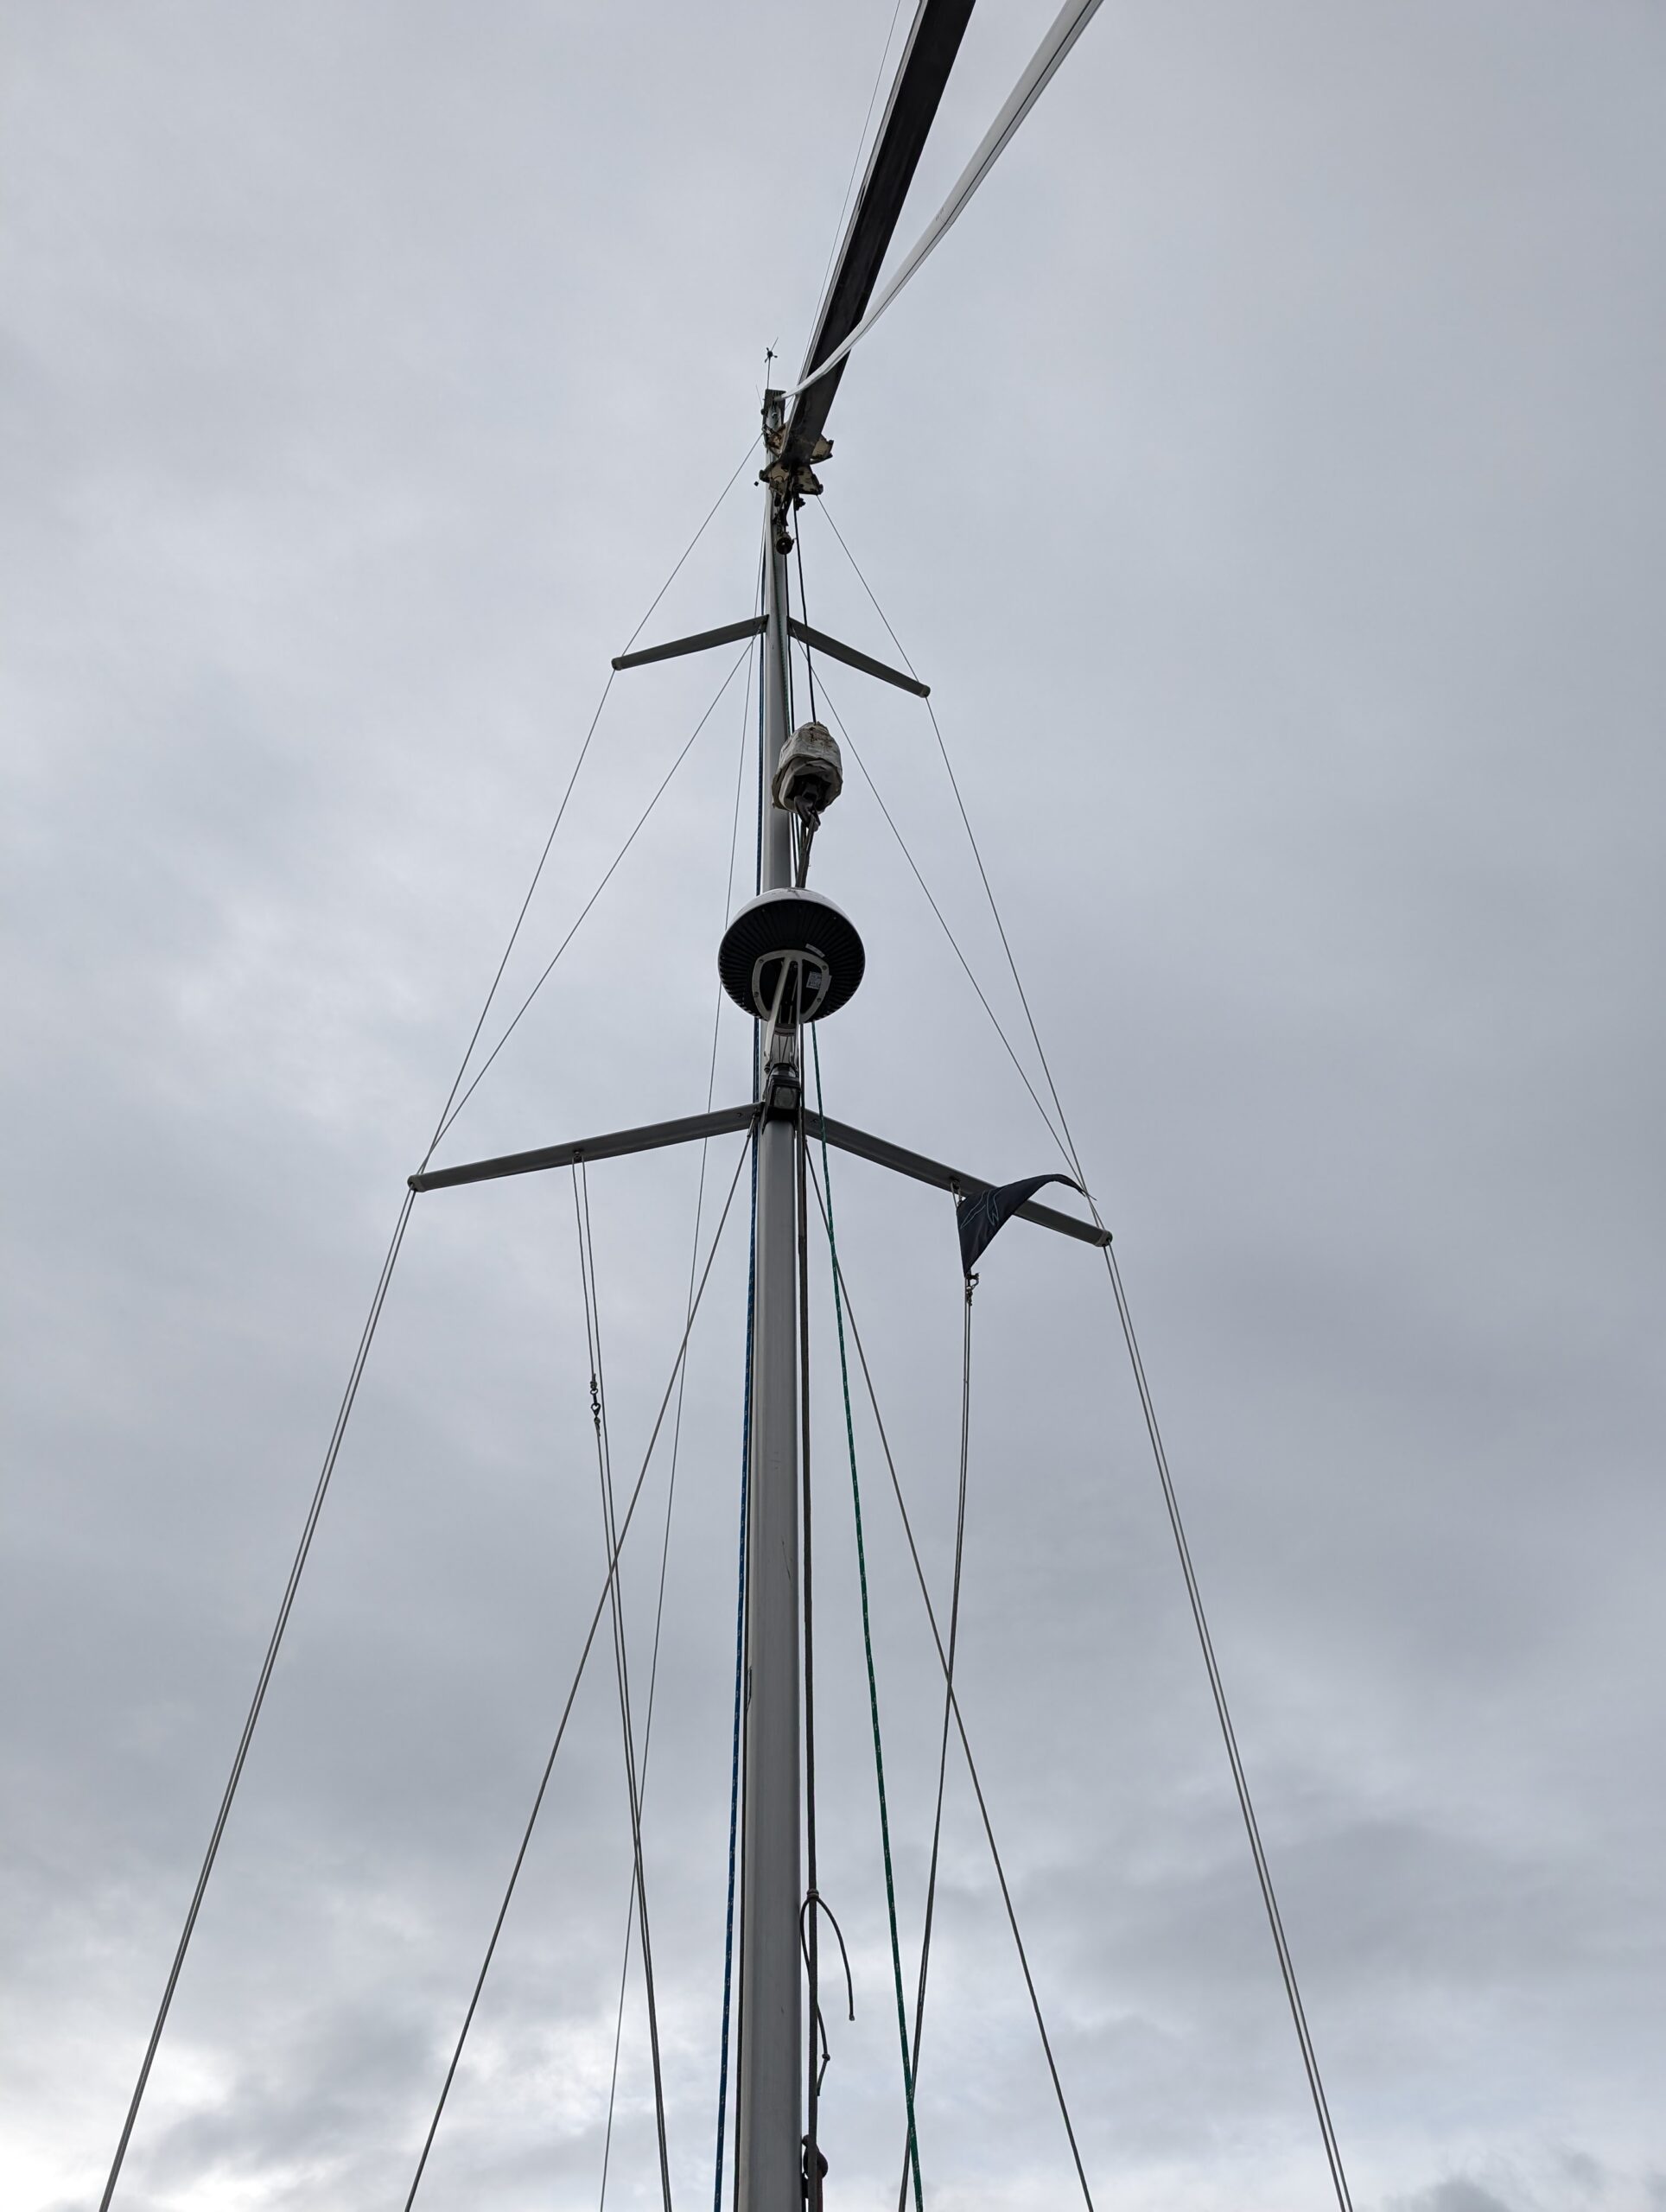
- Replace the top-of-mast wind instrument with the new one and run the cable
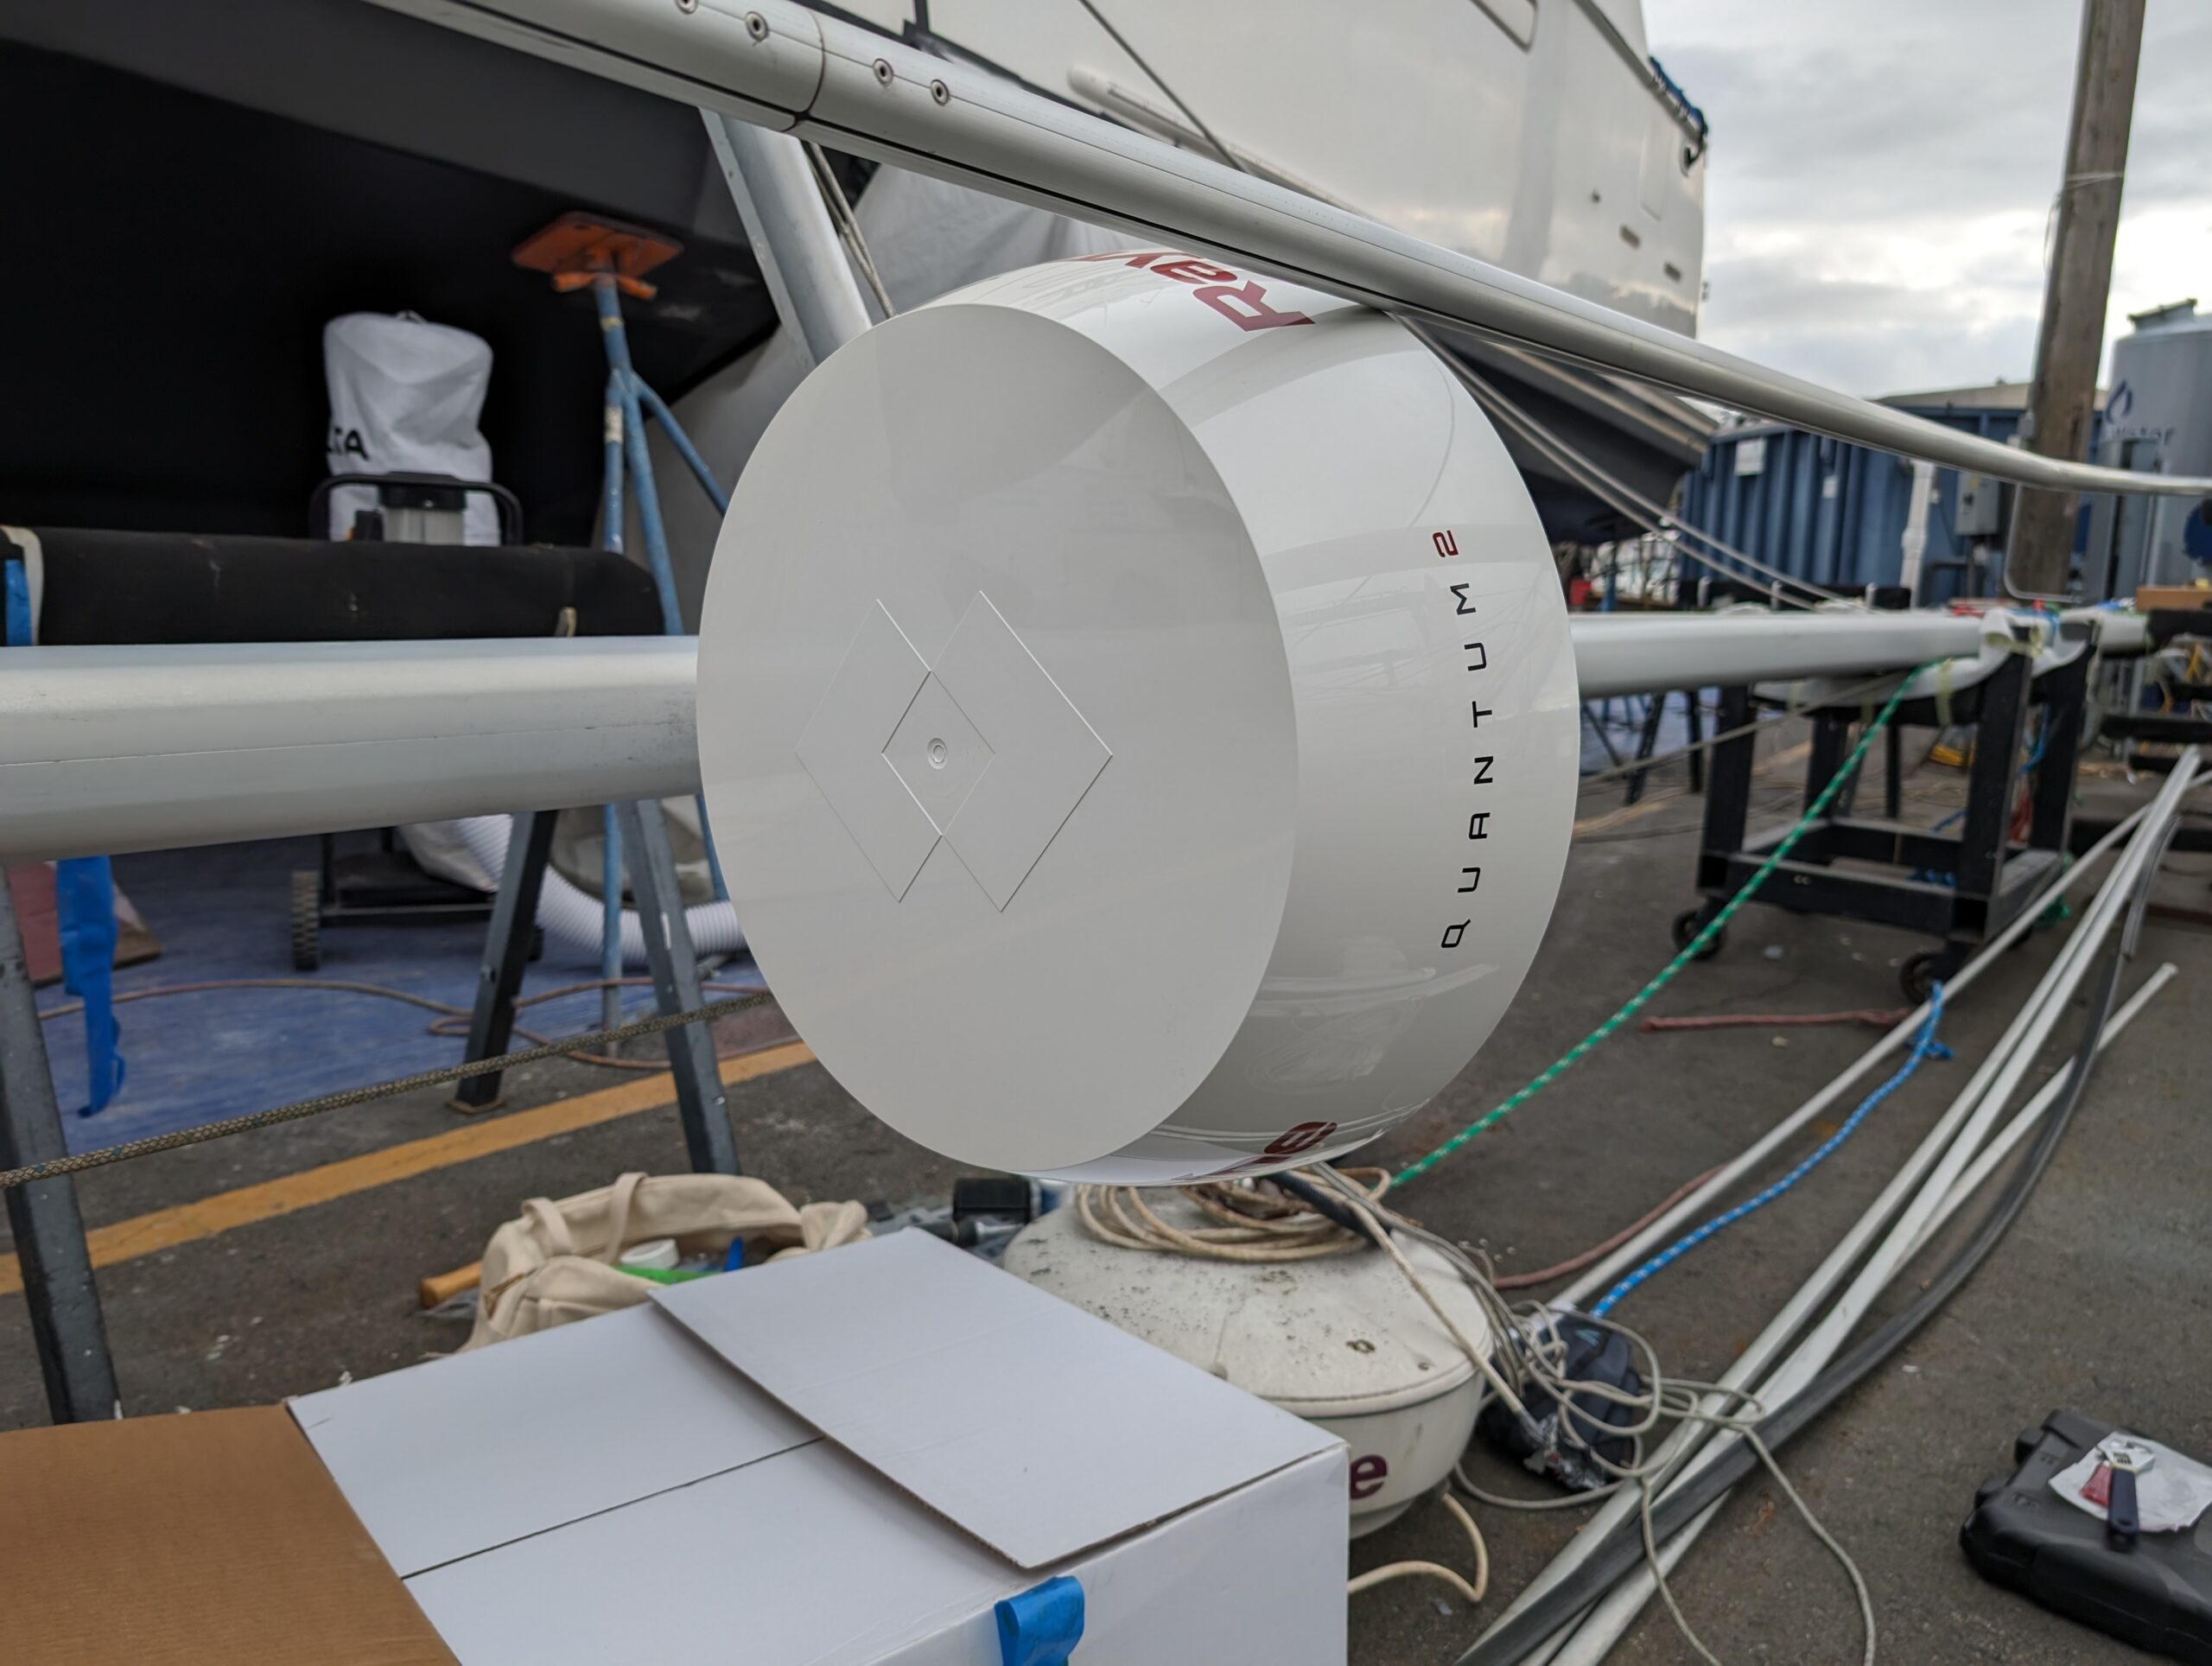
- Replace the old radar with the new one and run the power cable and data cable
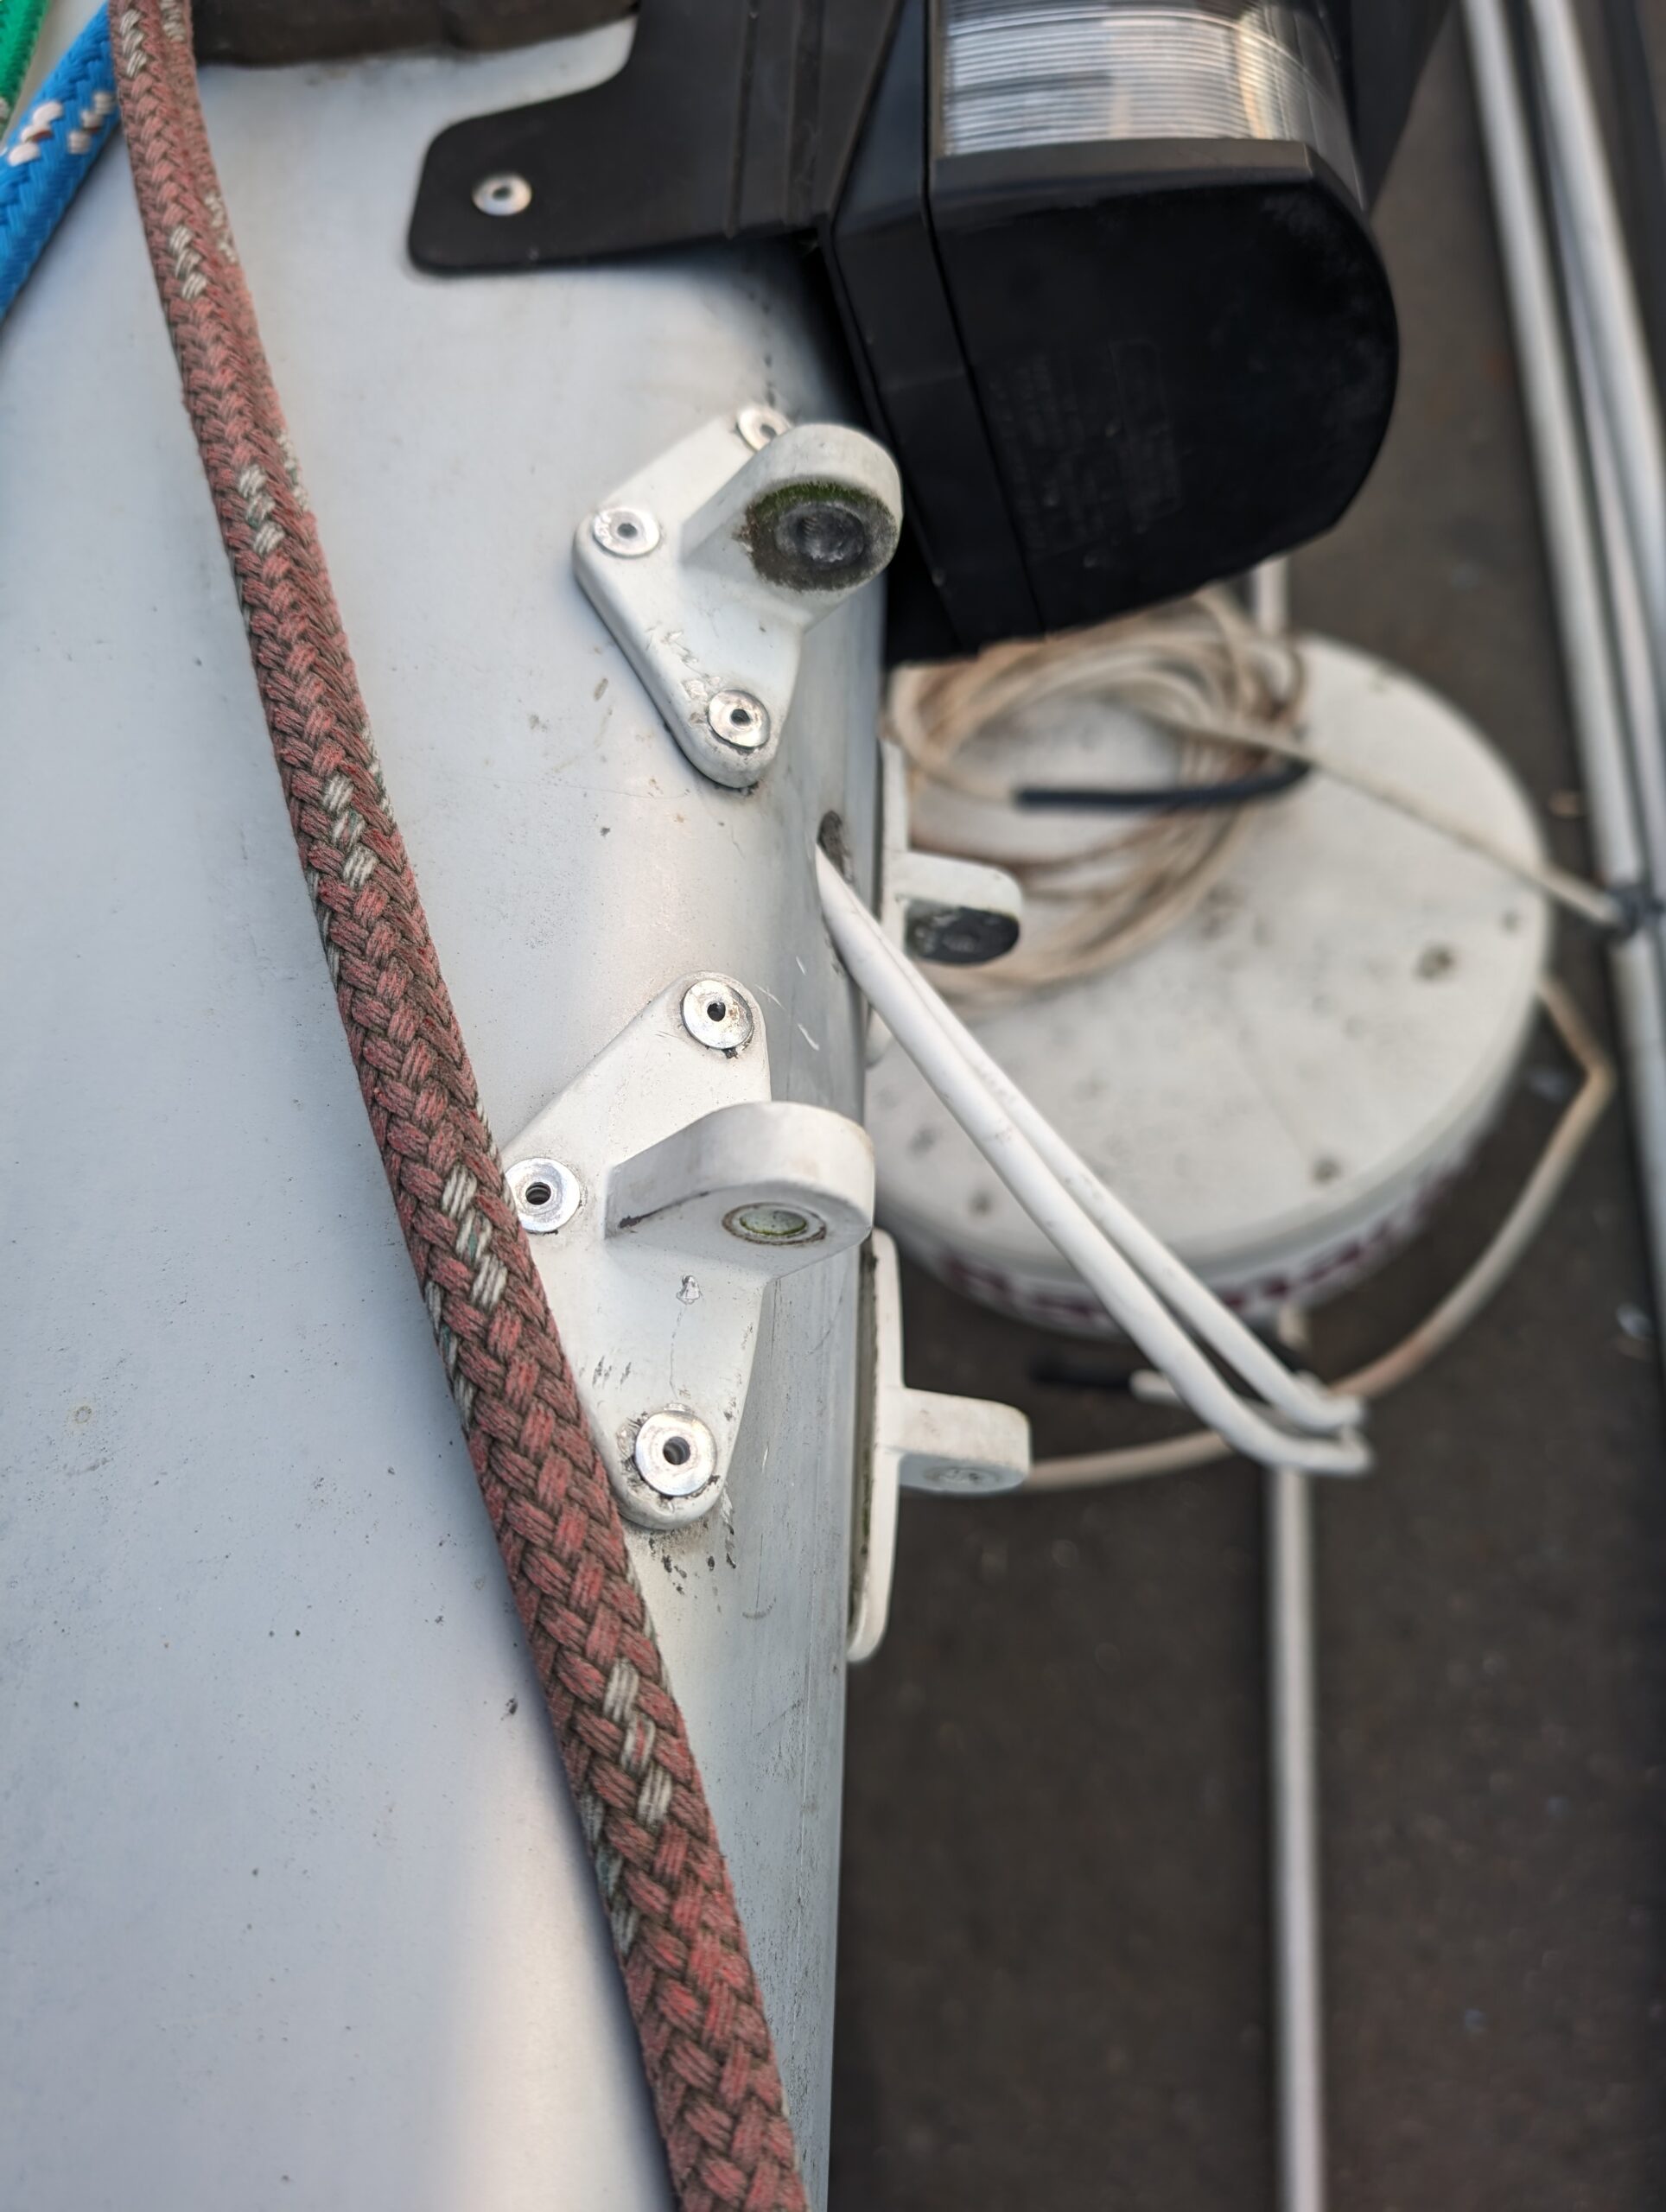
- Re-rivet the radar mount
- Replace the steaming and deck halogen lights with LED
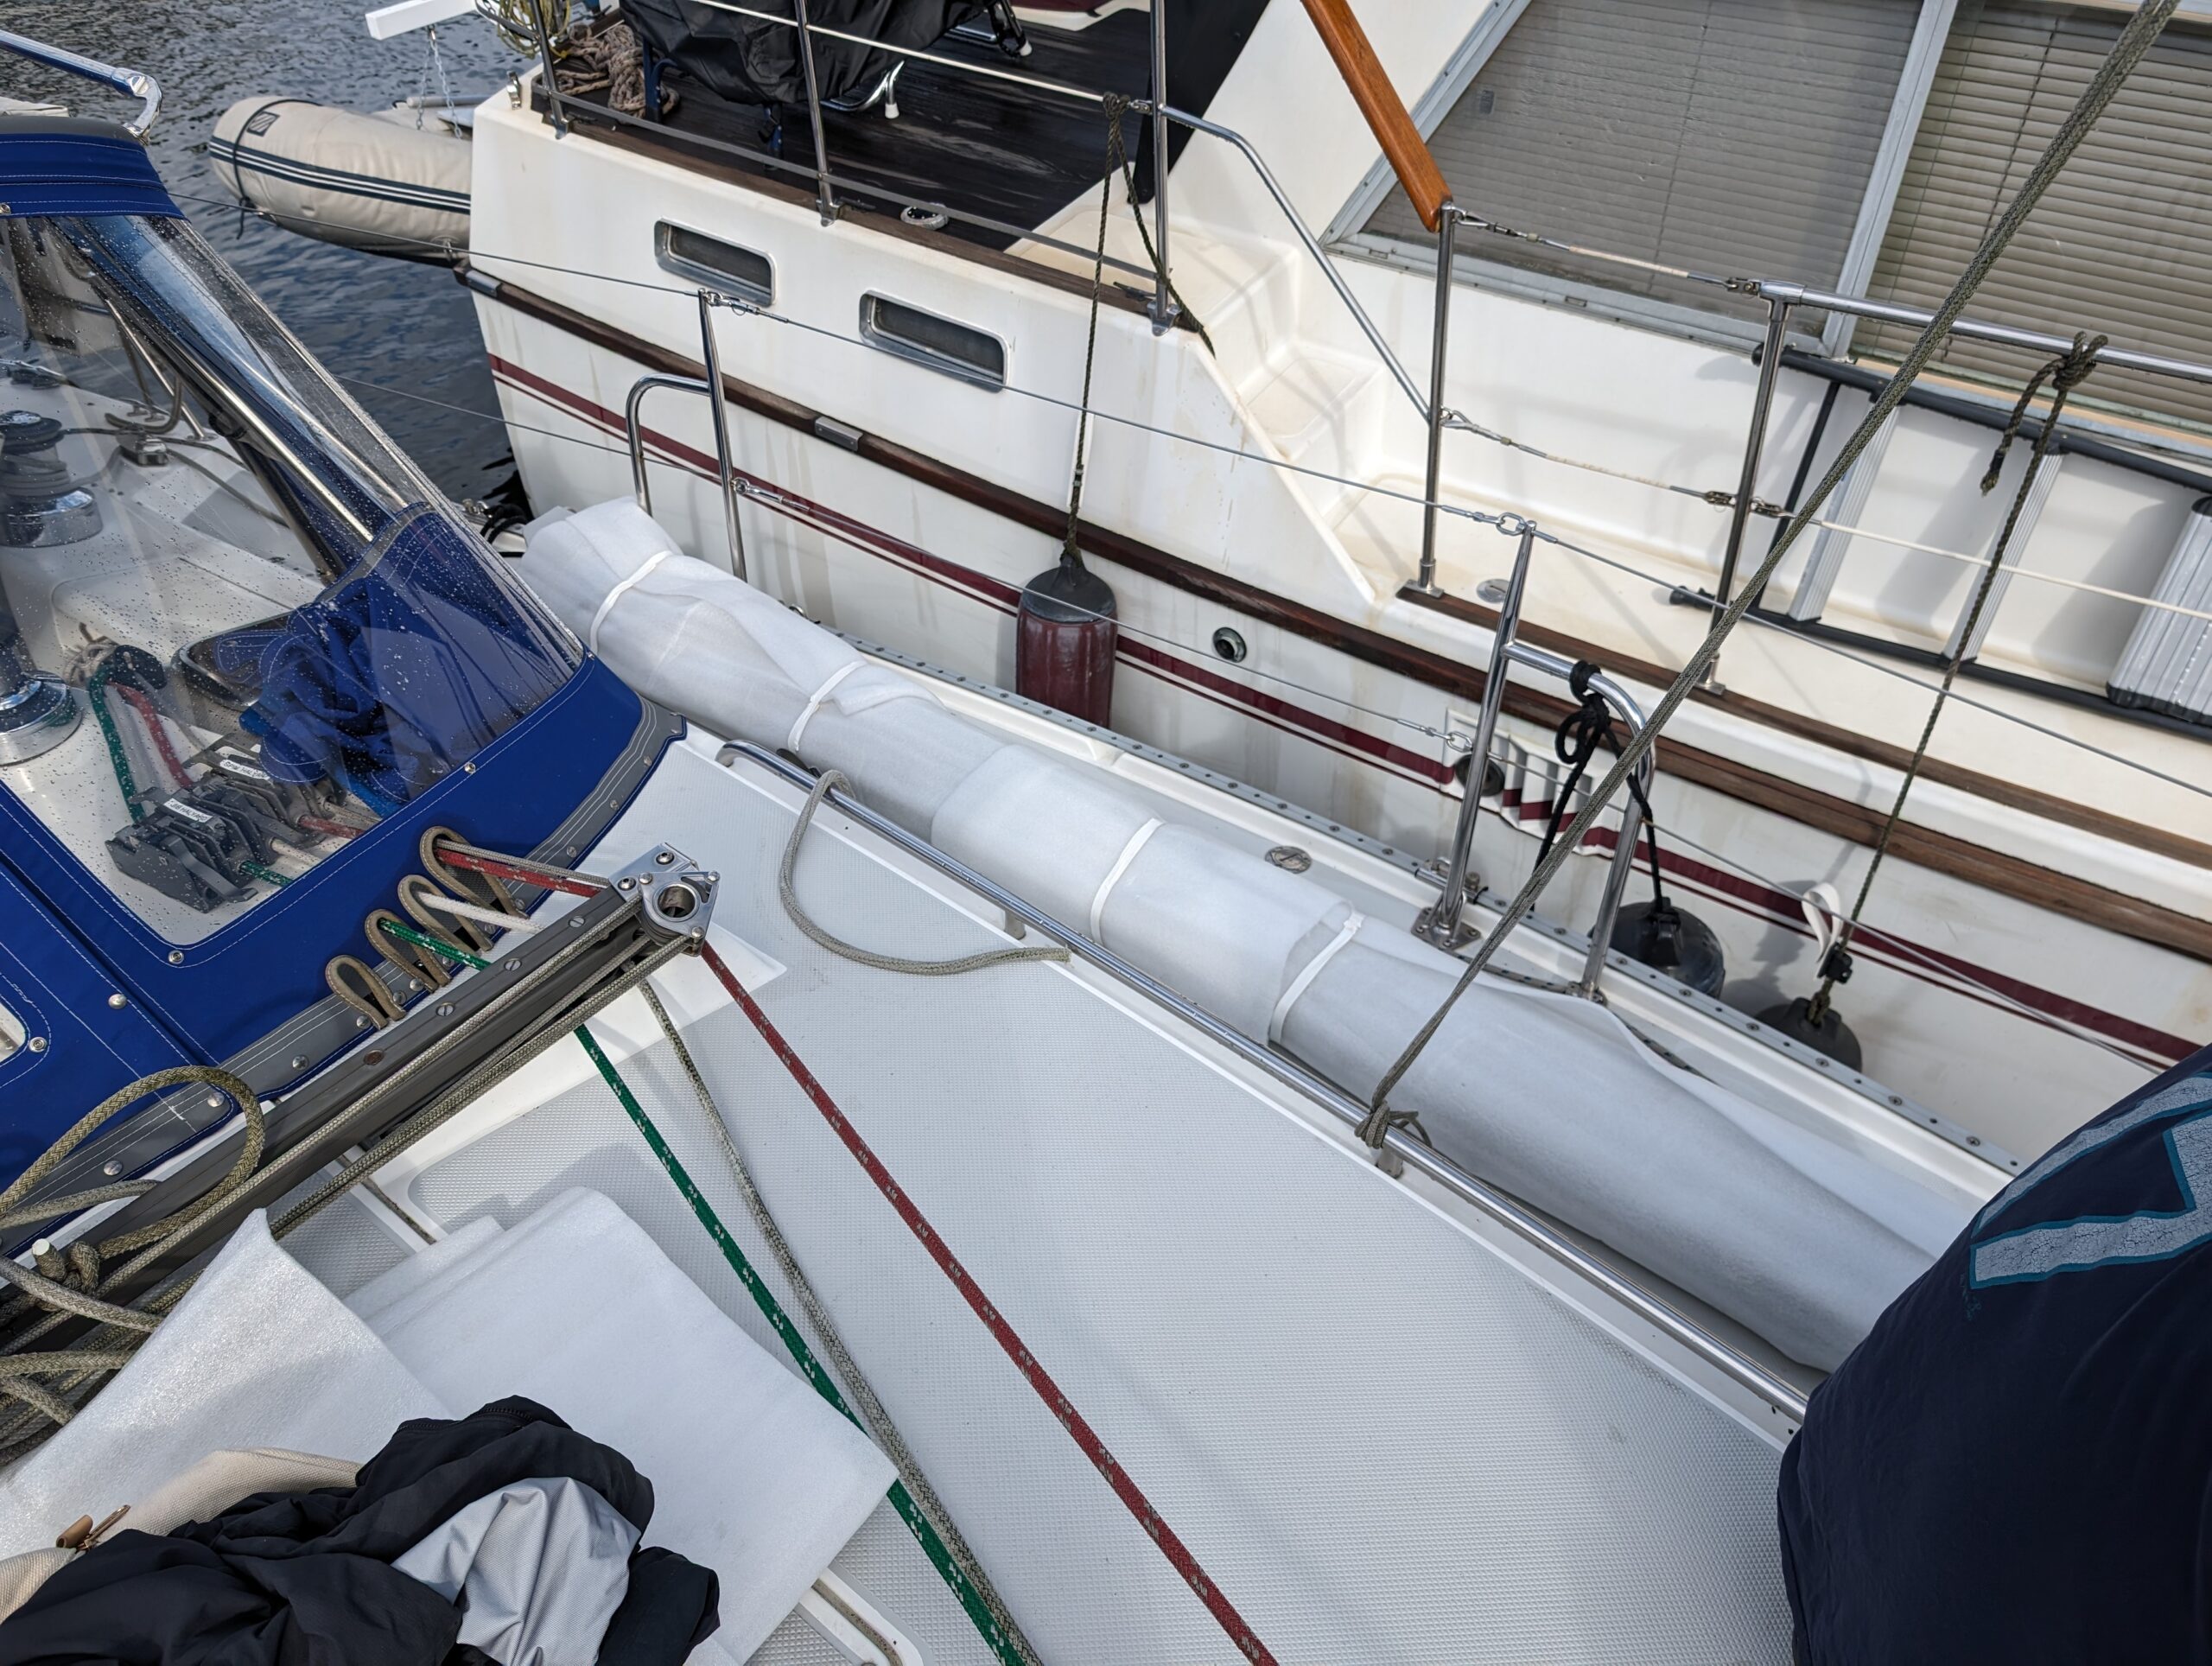
- Replace the mast boot with a new one from Catalina
The wind instrument task was easy, and I didn’t even remember to take pictures: the mount was identical, so I simply swapped it out, cleaning the area and applying some blue LocTite to the screws, and a friend helped me carefully pull the new cable through the length of the mast using the old cable to do so.
For the radar mount, I had to do something I’d never done before: pop-riveting. This turned out to be exactly as easy as I’d been told.


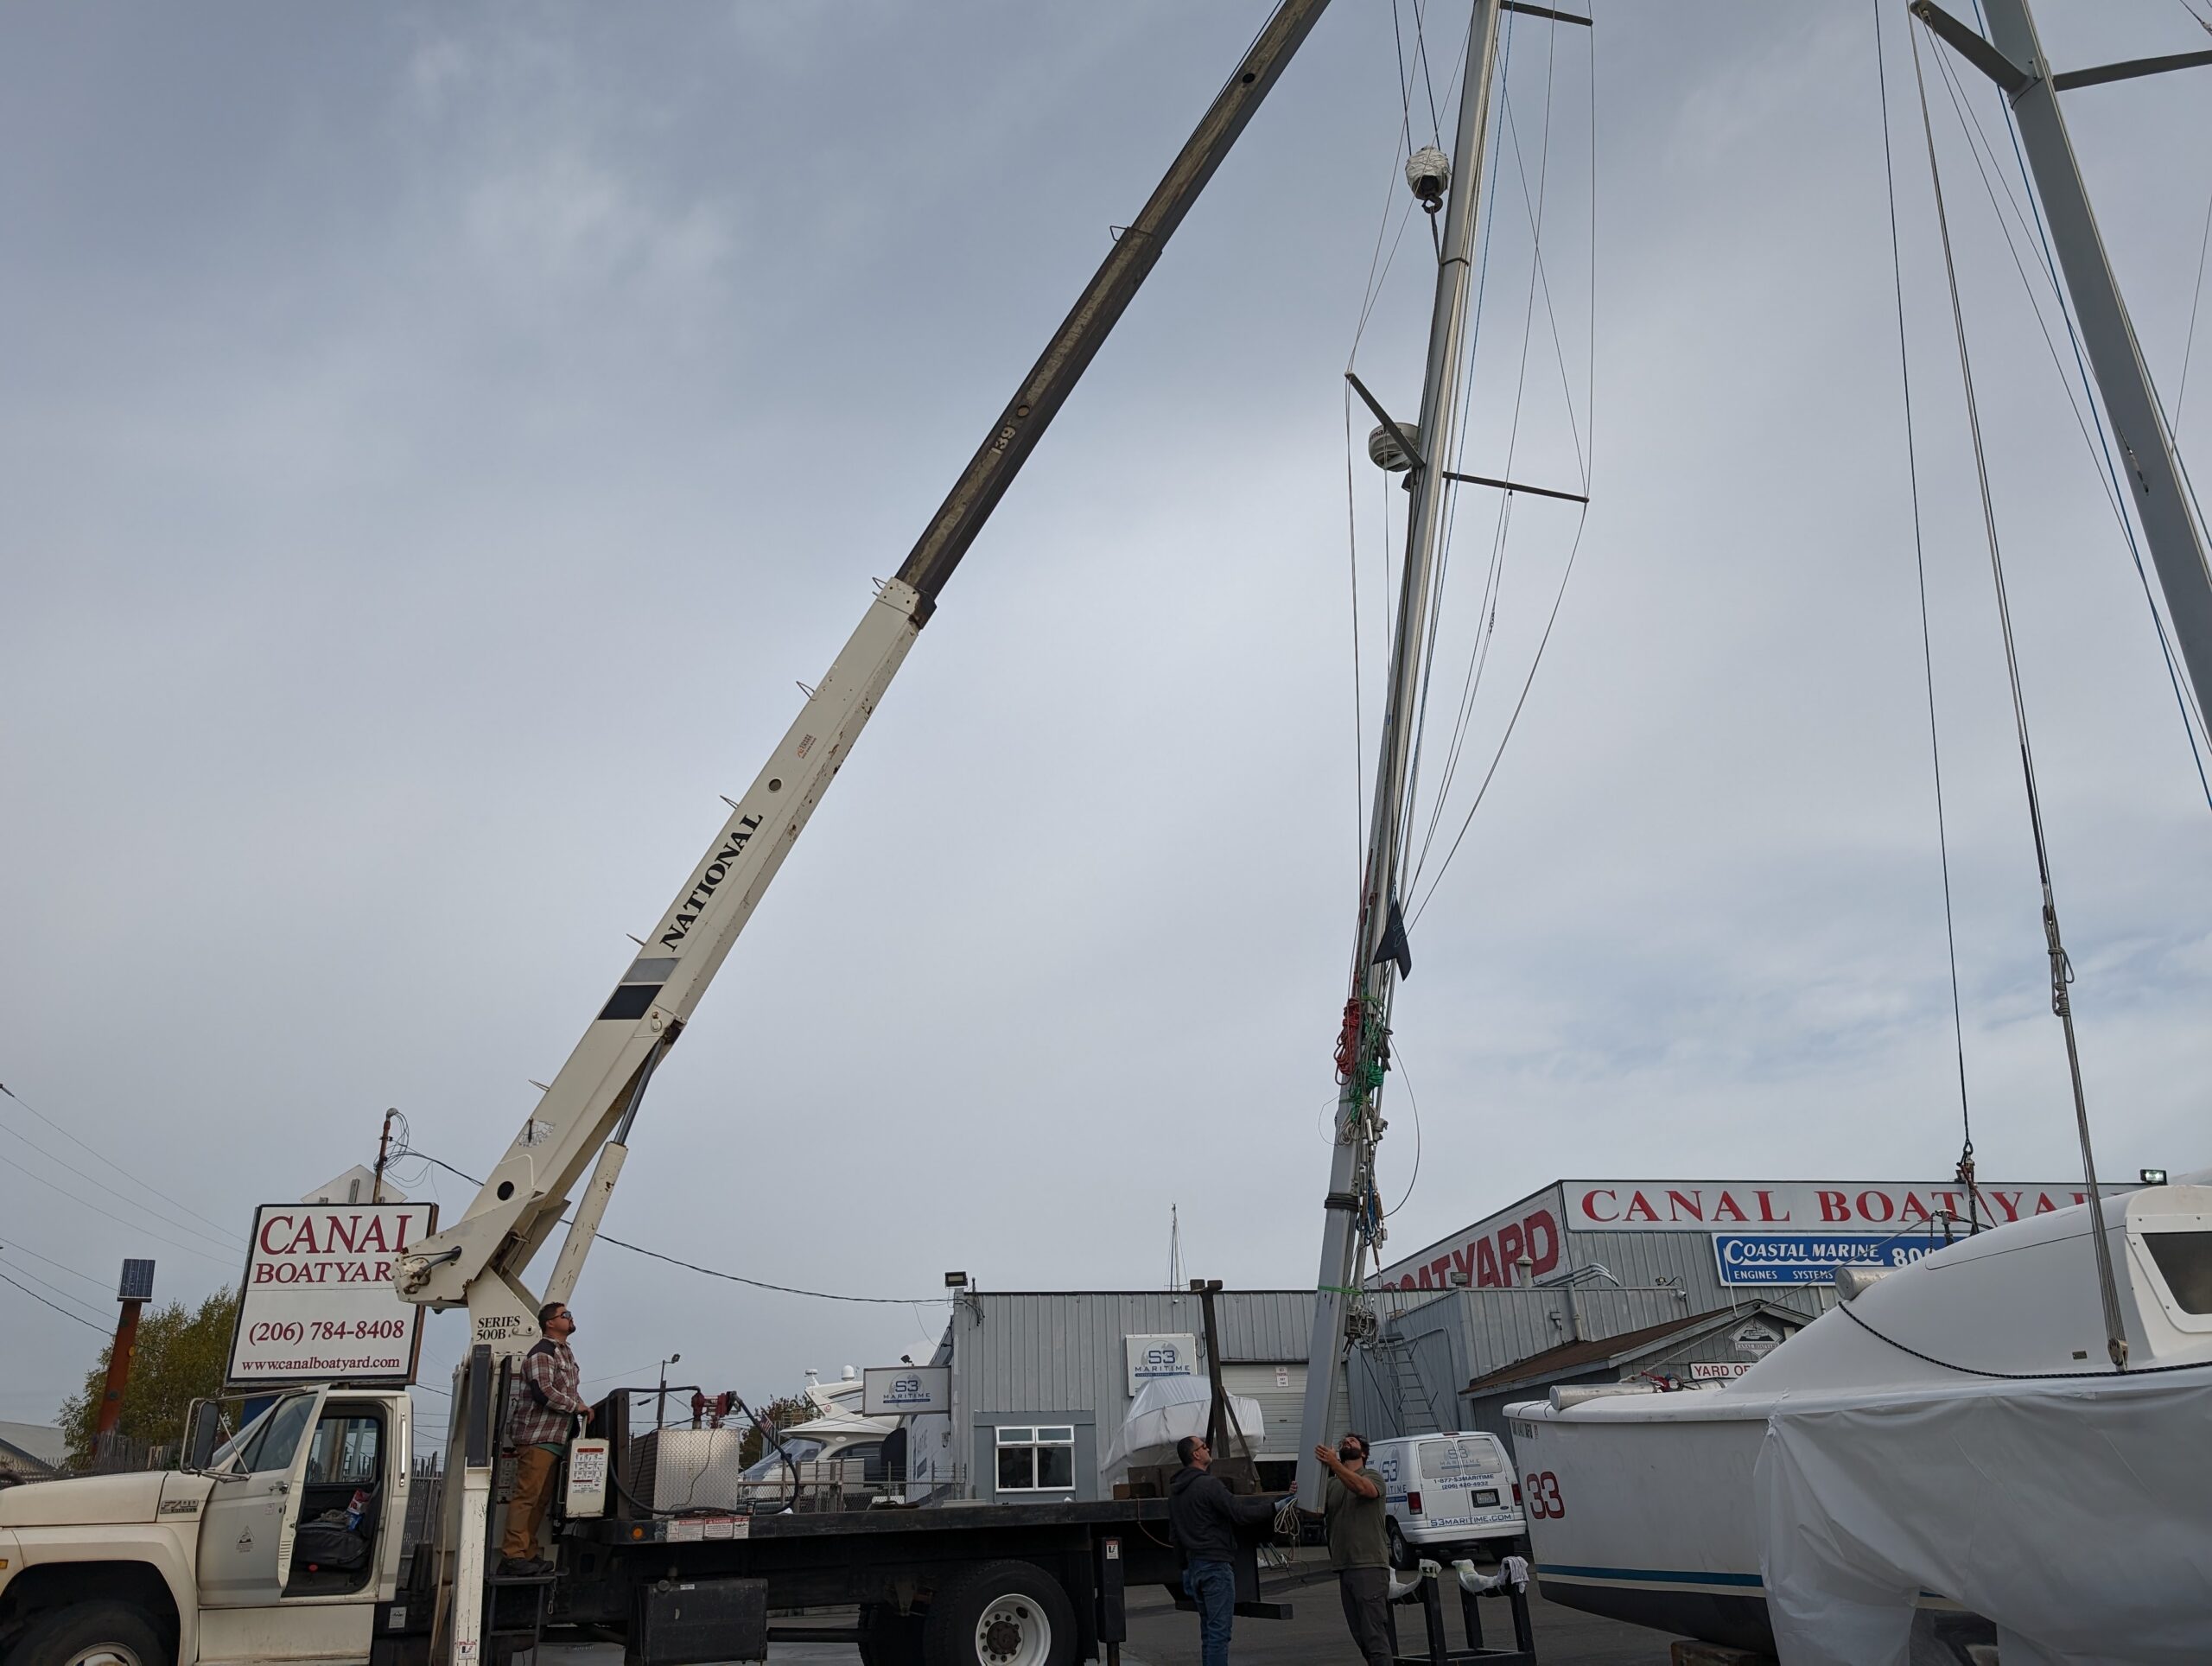
Then the day of putting the mast back in arrived!
Inside, one of the riggers and I carefully threaded all the cables through a hole in the side of the mast, and then as the mast was lowered further, through another hole where there is access for electrical work.
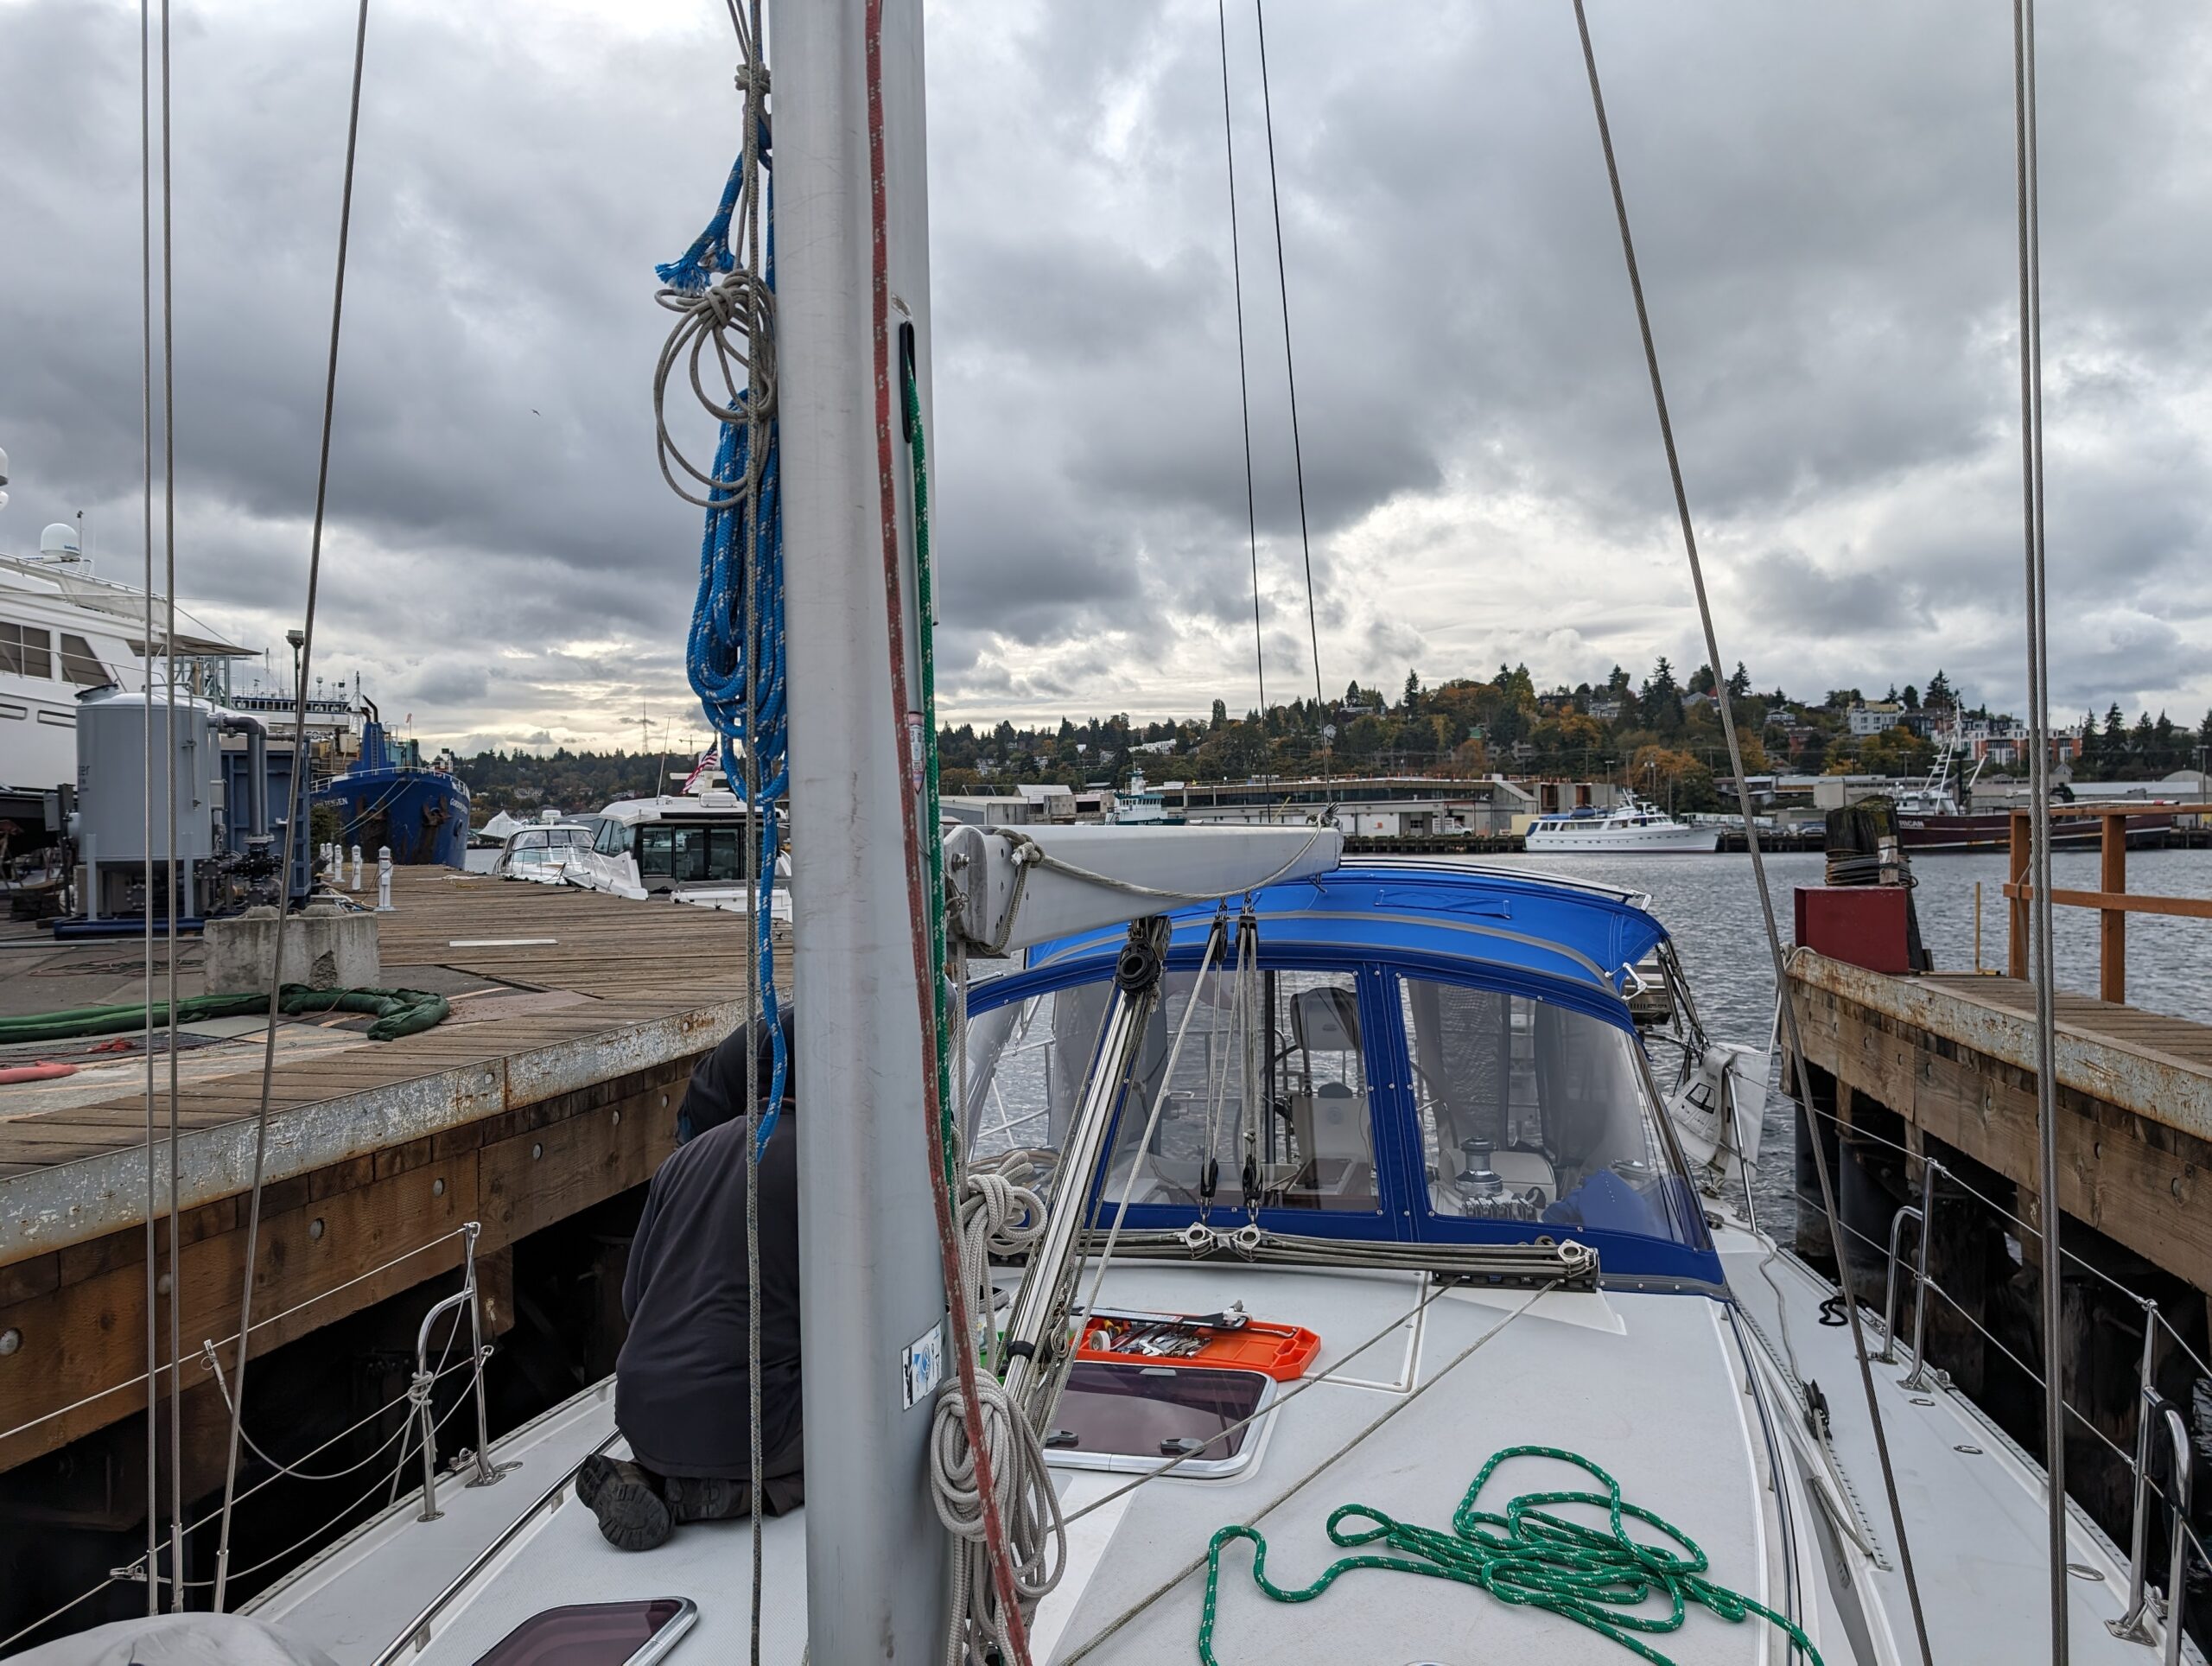
At this point, I took the boat back to my slip, and there we go, I’ve got new standing rigging! One more major (and expensive!) item off the list.
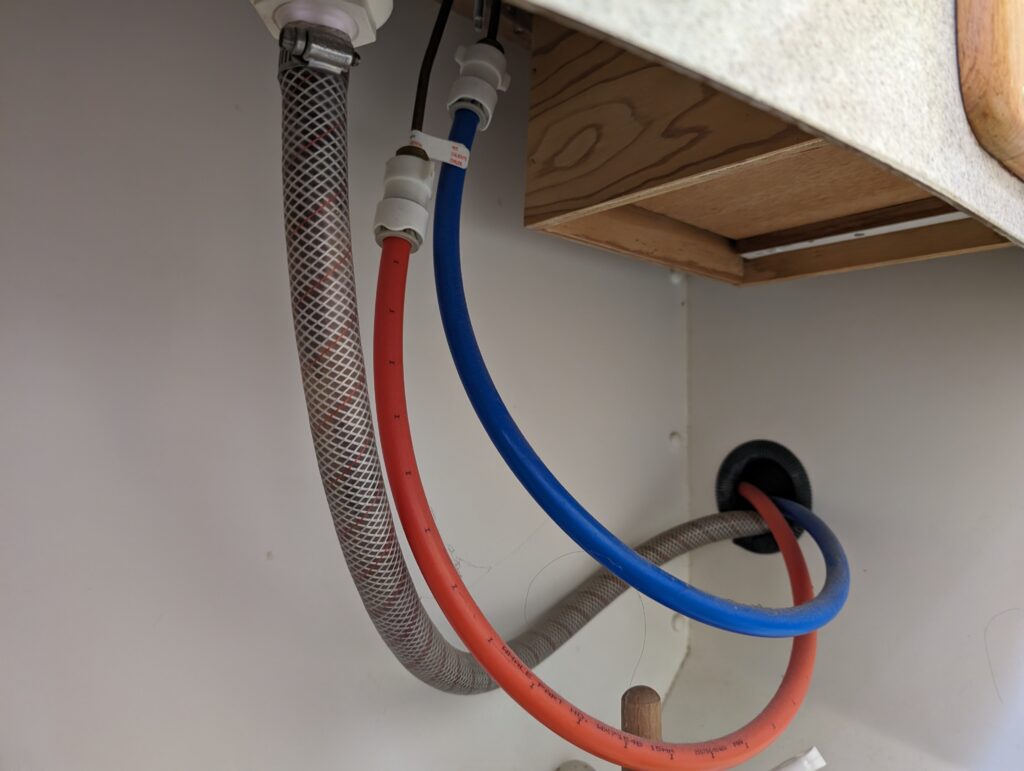
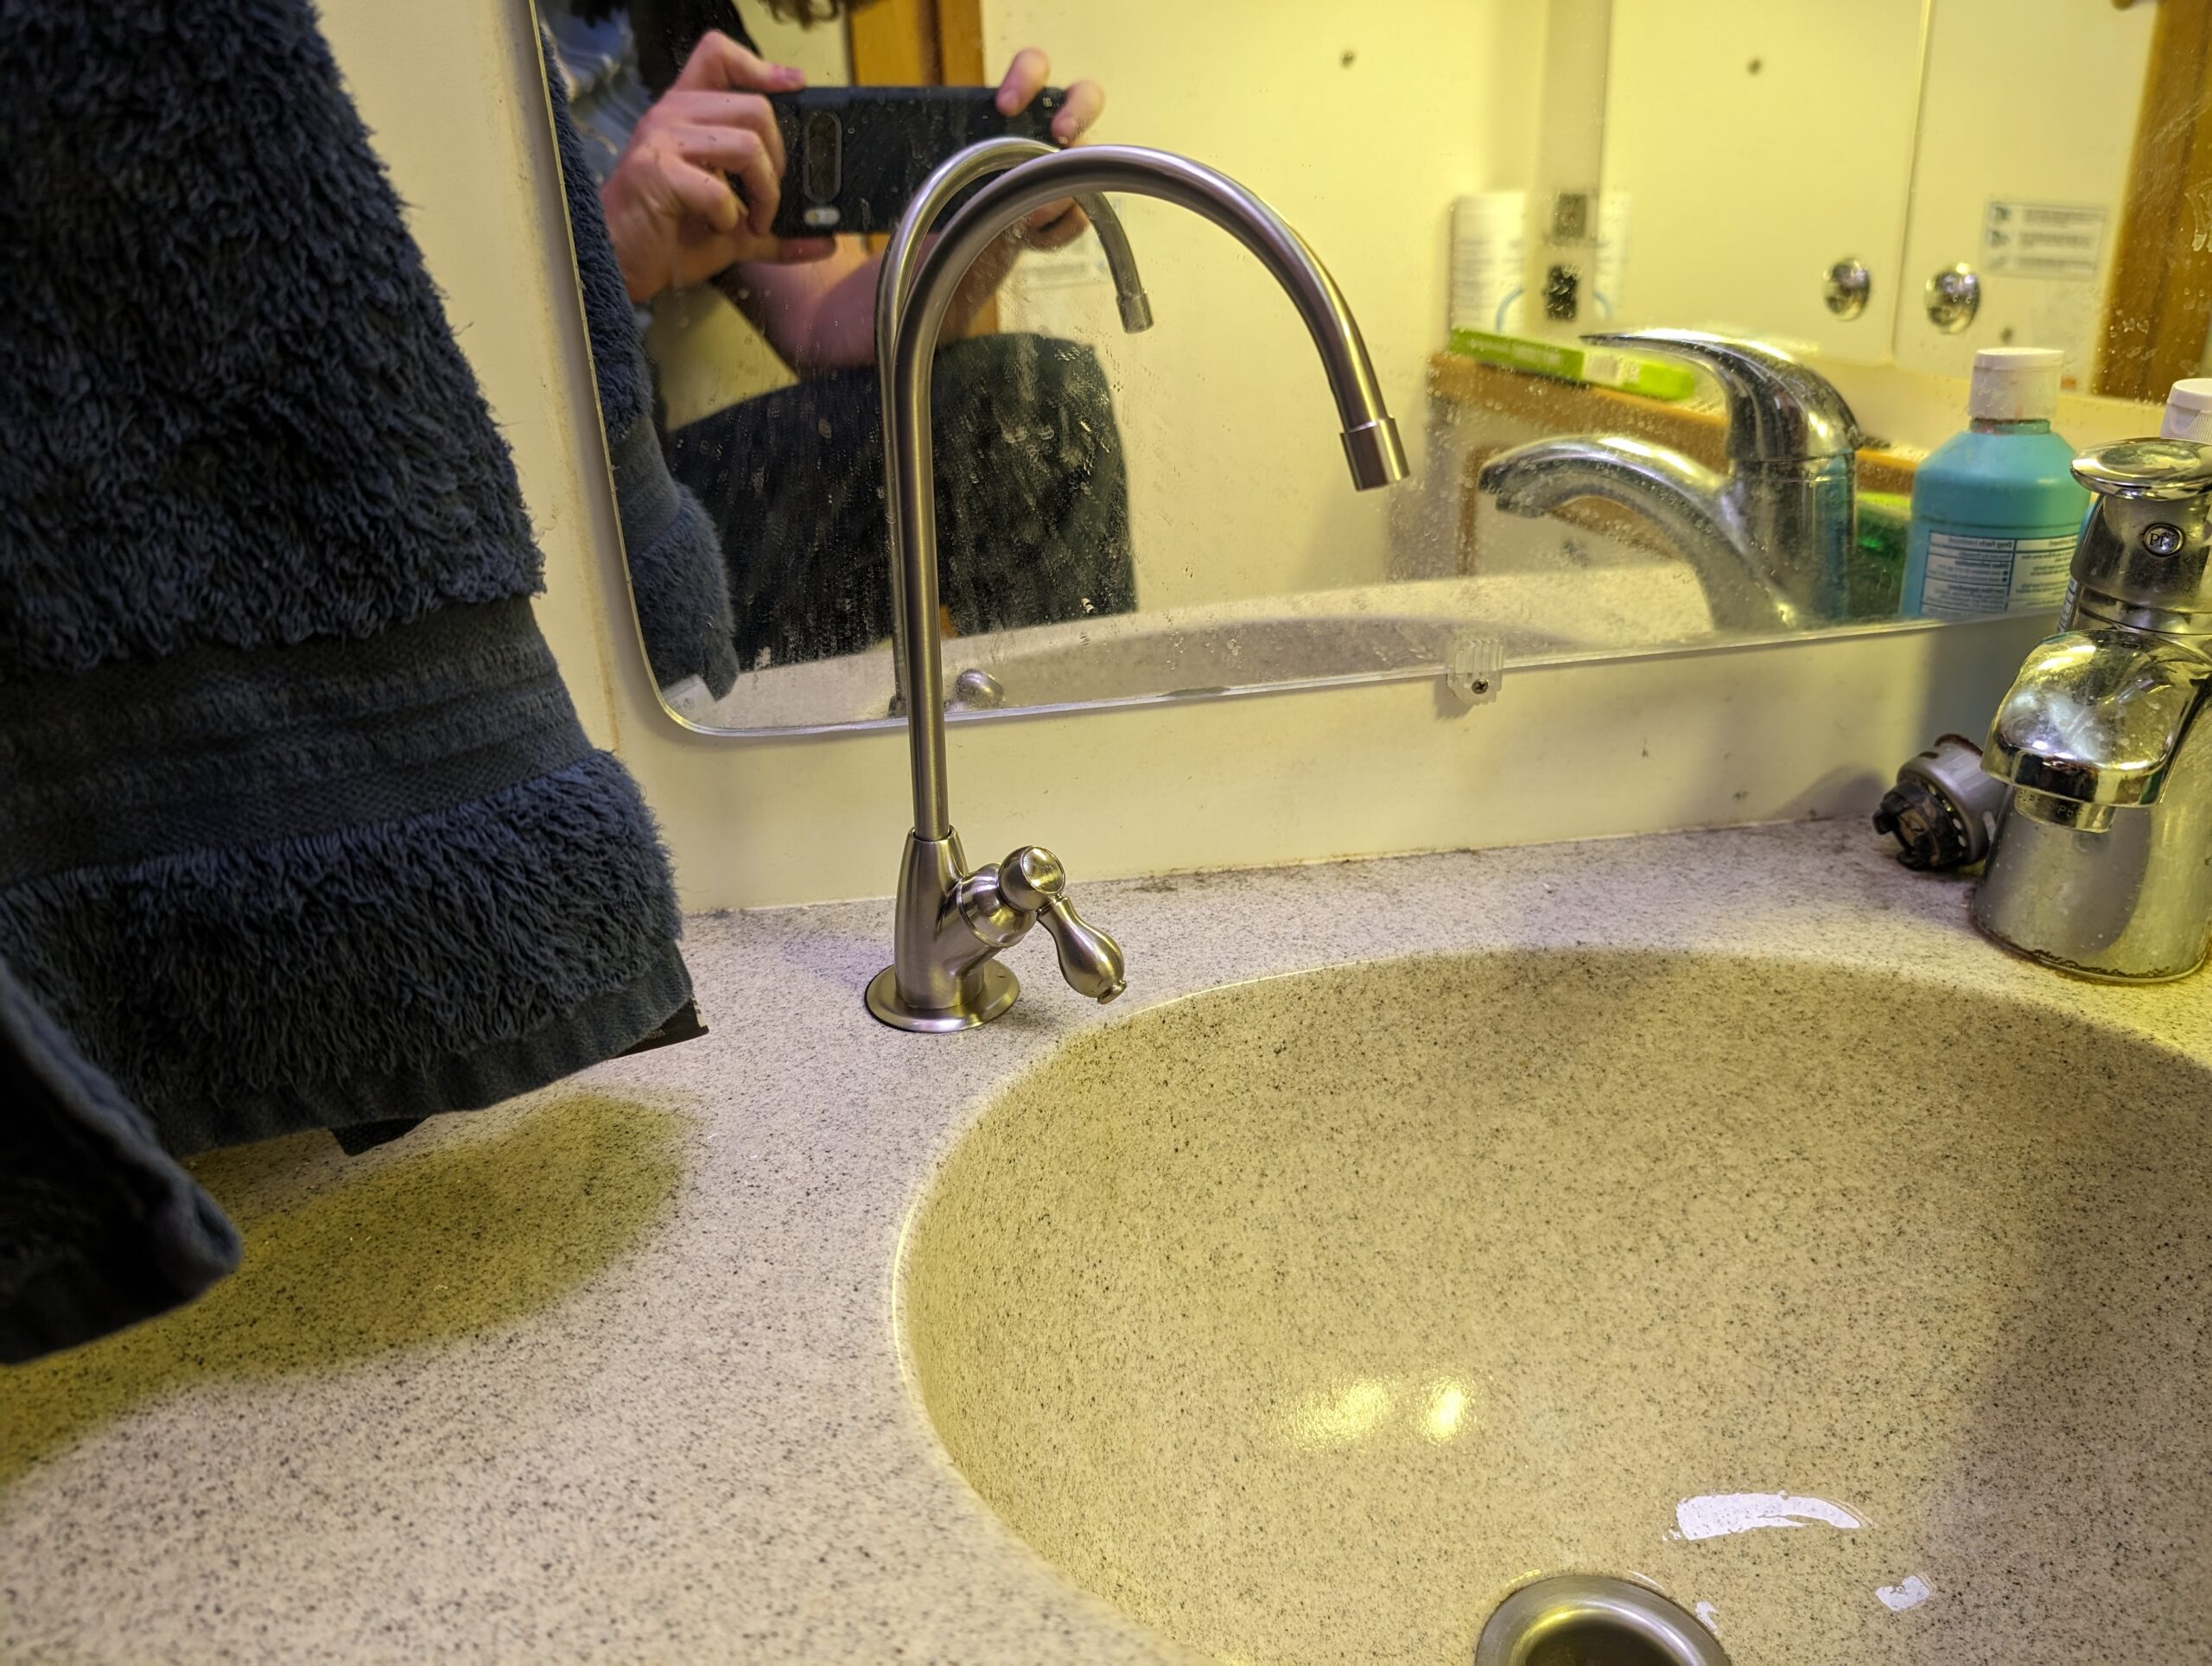
Now that the mast is back in and the new radar and wind sensor are installed, I can start moving forward with installing the rest of the Raymarine nav electronics. But, in the meantime, my partner and I continue to work on other miscellaneous projects, such as adding a filtered water tap to our water system.

In other boat project news:
- I’ve commissioned a new mainsail and a storm trysail from Ballard Sails
- After discussing options with Ballard Sails and our cruising advisor we’re going to get the main made out of Hydranet. This is a fair bit more expensive than either dacron or a laminate, but is strong, stretch-resistant, UV-resistant, and has a long lifetime.
- I ordered an ATN Gale Sail from MauriPro Sailing
- Again, after discussing options with Ballard Sails and our cruising advisor, this was the one that would allow us to avoid installing a new inner-forestay as well as backstays and a deck fitting!
- The Viking RescYou Pro liferaft is being freighted across the country to us now
- The solar array project will be started on by some local fabricators in the next week or so
- I’m waiting on new halyards from Fisheries Supply, and later this week will order the rest of the replacement running rigging from them as well
We’re getting close!
Getting close indeed! This is all fascinating.