
We’re about halfway through getting our new Raymarine nav gear set up, and while we’ve been doing that (routing cables appears to be the majority of the work, unfortunately, see my rant at the end of this post) I’ve been working on a few minor projects, as well as taking delivery of a few more major items (and future projects).
While upgrading from the original 2007/2008 year Raymarine nav electronics, I’m taking the opportunity to link up other devices to the NMEA 2000 network (aka SeatalkNG, Raymarine’s branded NMEA 2000 network and plugs) as well as run a few additional cables from the nav/distribution area to the helm.
SeaTalkNG/NMEA2000 Network Design
First, let’s talk about the design of the network. Starting with Raymarine components, from the front-to-the-back of the boat, we’ve got:
- Wind instrument (E22078)
- Quantum 2 Doppler Radar
- EV-1 Sensor Core
- ITC-5 Transducer Converter
- DST800 (depth/temp/speed)
- ACU-400 autopilot controller
- Axiom 2 Pro 9S
- i70s Display (x2)
- p70s Display
- Type 2 Linear Drive (short stroke)
- Rudder position sensor
Then, a few additional devices we need to add into the NMEA 2000 network:
- Vesper X8000 AIS Transceiver
- Fusion Audio MS-RA210 audio head unit
- The Victron VE.Can network
Now, the Quantum 2 radar doesn’t actually hook into the SeaTalkNG network–it will communicate with the Axiom 2 over Wi-Fi. (at least, presumably–if for some reason there is a poor connection I’ll continue running the RayNet cable all the way to the Axiom 2, but I hope I don’t have to do this for cable-routing reasons)
The AIS transceiver and Fusion Audio units will both be hooked up along with the ACU-400 to a SeaTalkNG 5-way connector, and the three mini-displays and the Axiom 2 will be hooked up with a 5-way connector plus an additional t-connector. The EV-1 will connect to the ITC-5 in its SeaTalkNG spur connector (as will the wind instrument and the DST800). Everything will then be connected by SeaTalkNG backbone cables–on one end there will be a backbone terminator connector on the ITC-5, and on the other the backbone will terminate via an in-line backbone-to-spur adaptor/terminator into the Victron VE.Can network via a Victron VE.Can->NMEA 2000 converter.
Powering the network
SeaTalkNG/NMEA 2000 networks require a power source, and I’ve got a few options.
- Use a SeaTalkNG power cable (which connects to a spur connection) and power it from the distribution panel (or directly from bus bars)
- Use the ACU-400’s SeaTalkNG power setting to power the network
- Use the Victron VE.Can -> NMEA 2000 cable to power the network
I’m going with the last option for several reasons. First, simplicity: either the Victron or ACU-400 methods are already built in to the network. Second, uptime. I won’t always have the ACU-400 switched on. The Victron system is never off. Third is related to the second: data-logging. We’ll get to that.
Other connections
Besides the SeaTalkNG/NMEA 2000 network, the radar, ACU-400, and Axiom 2 all need their own power connections. For the Axiom 2 and my Victron Cerbo GX to communicate correctly together, apparently they must be networked together on a physical network (from what I can tell online Wi-Fi may not be enough, but even if it is I haven’t been impressed with the Cerbo GX’s Wi-Fi signal strength capabilities anyway). So I’m also running a few ethernet cables to an unmanaged ethernet switch I’ve added behind my distribution panel, not far from the ACU-400.
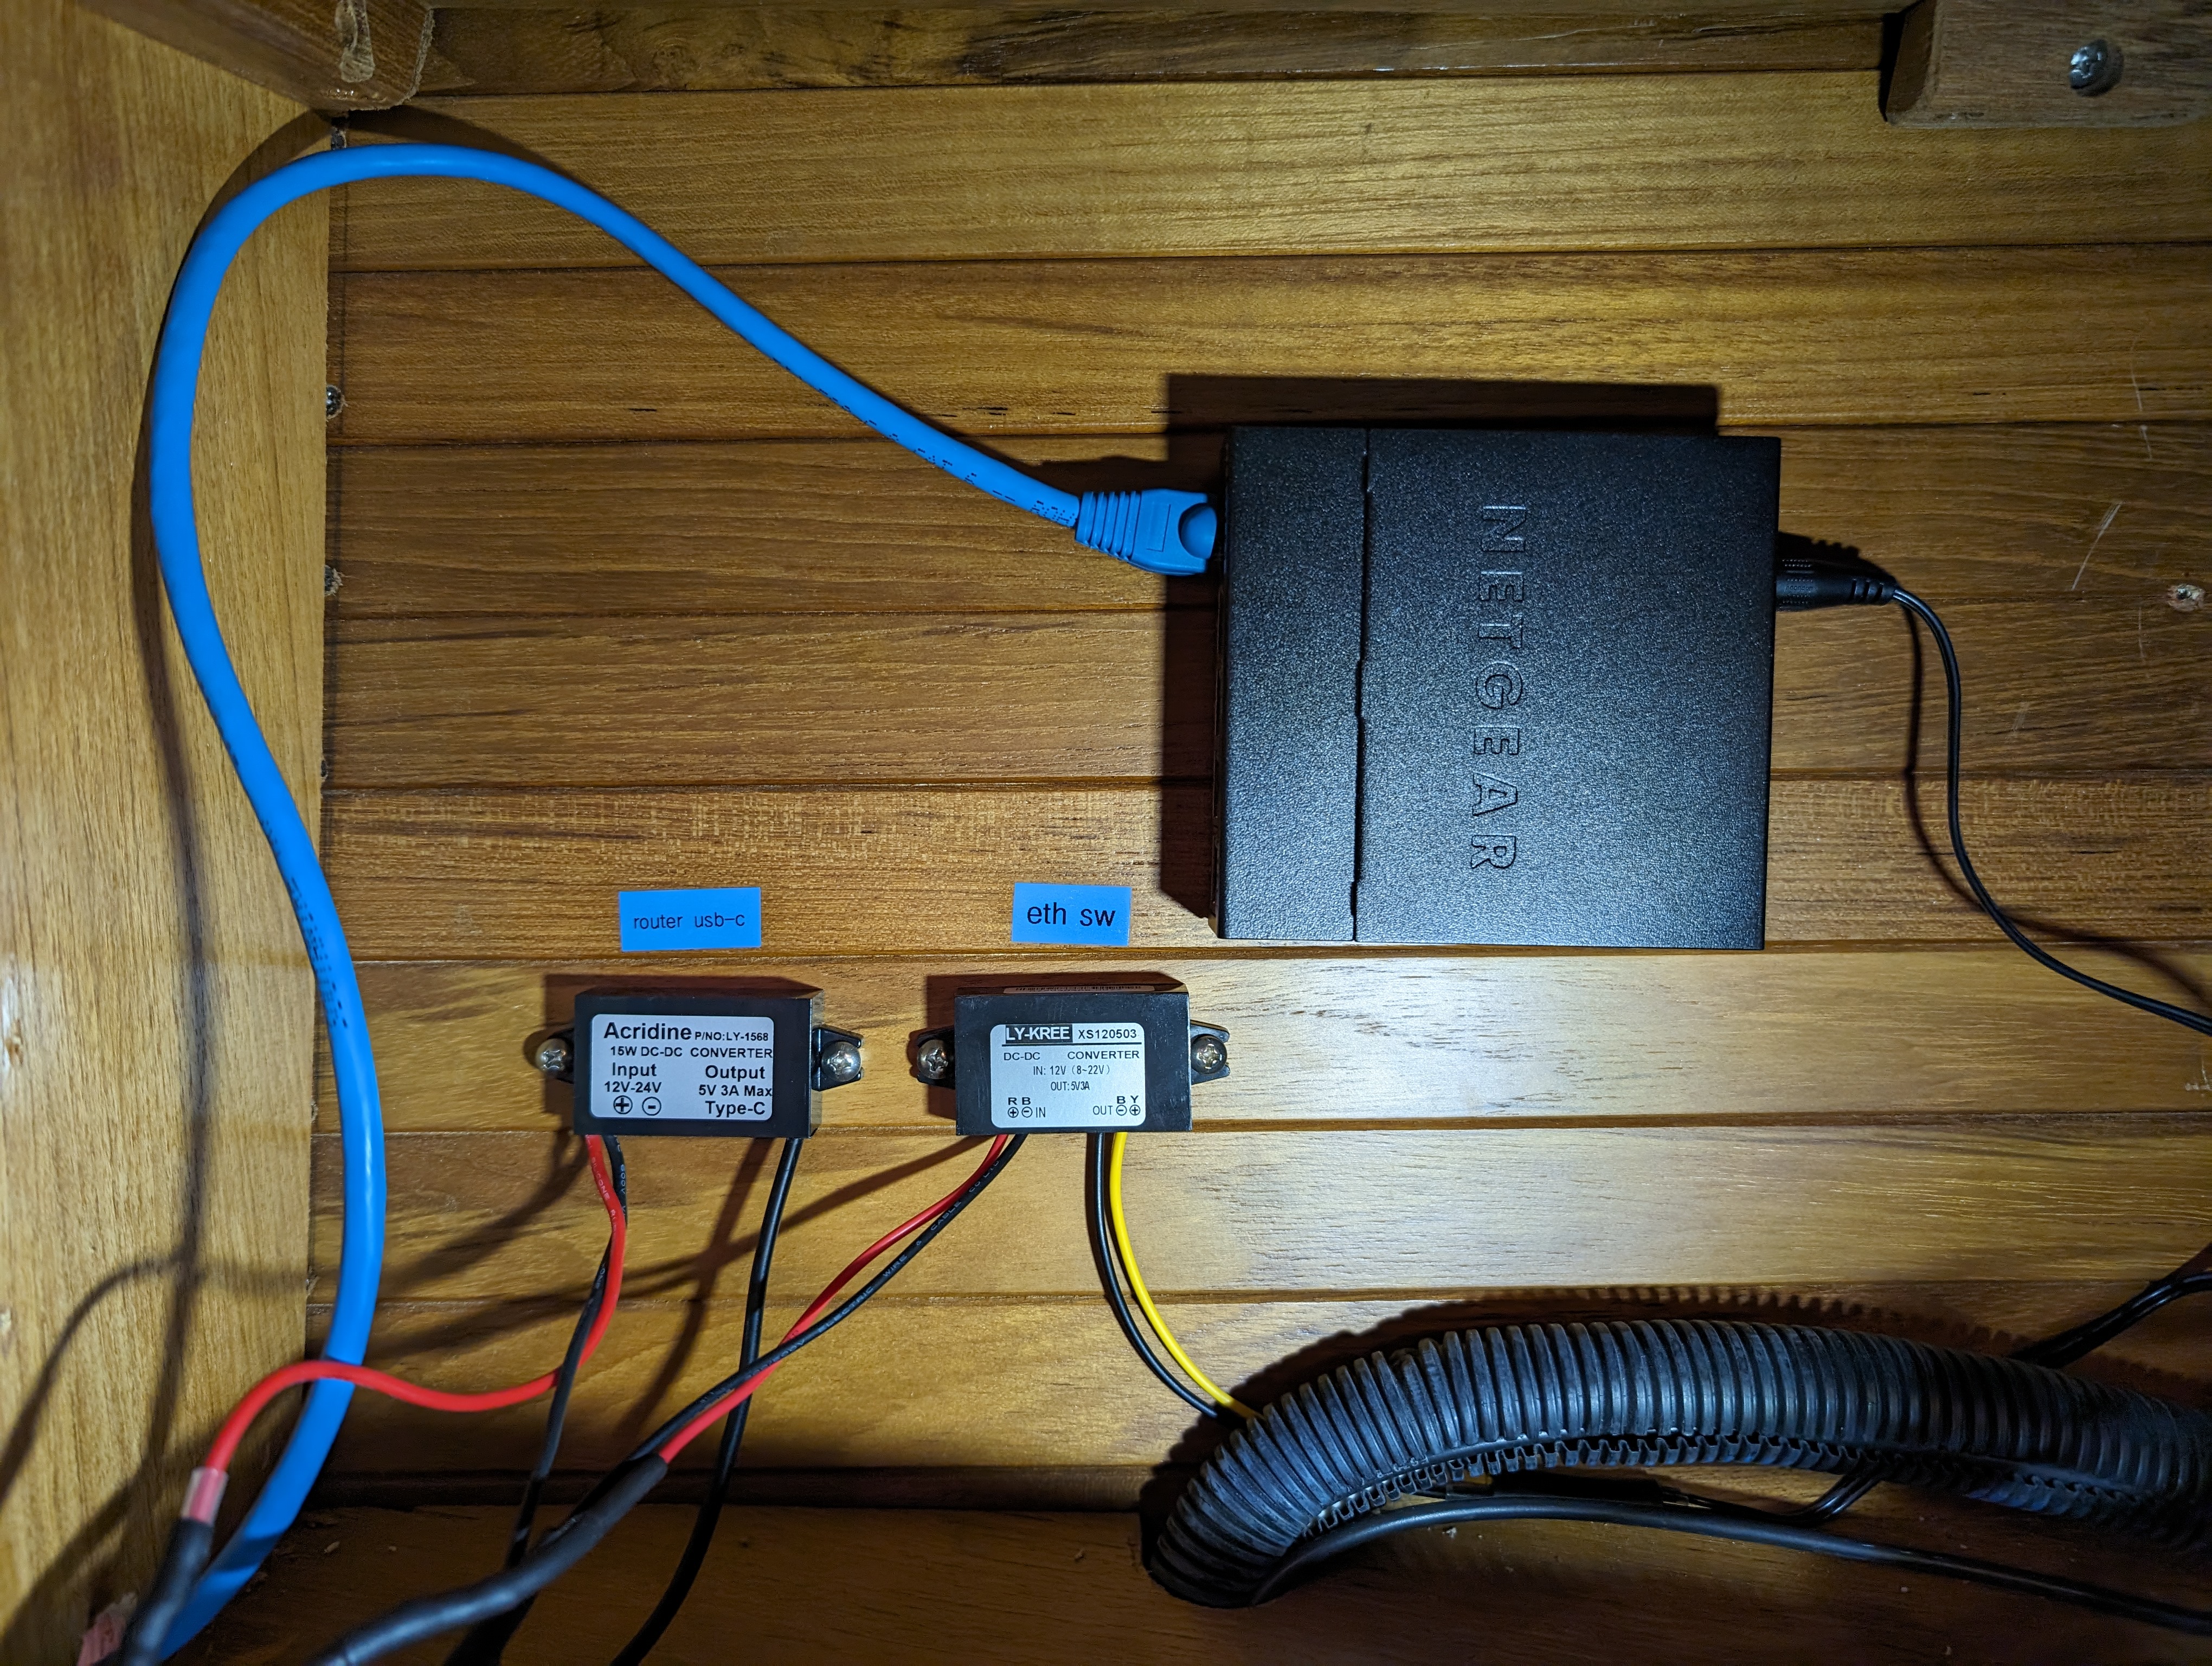
To avoid taking up a 120v AC outlet for the switch’s 120VAC->5VDC power supply (or having the network rely on the inverter), I bought a 12V->5V DC converter off Amazon and spliced the power cable into it. You’ll also notice a second converter–this is a 12V->USB-C converter (also 5V), and that cable along with that blue ethernet cable go out a hole in the cabinet to my Netgear M5 (MR5200) 5G router, which will provide DHCP services as well as internet access (usually through 4G/5G, sometimes through Wi-Fi network bridging).
I custom-made a little mount for the router:

There’s another reason I want the Cerbo GX reliably wired into a network though…
Data & Logging
The more technical readers among you may have already looked up NMEA 2000, but it’s not a particularly new standard. I won’t bother getting into the specifics here, but from a computer modern networking perspective it’s ancient, slow, and limited.
Enter Signal K:
Signal K is a modern and open data format for marine use. Built on standard web technologies including JSON, WebSockets and HTTP, Signal K provides a method for sharing information in a way that is friendly to WiFi, cellphones, tablets and the Internet. A format available to everyone, where anyone can contribute, Signal K is the first truly open data format for the marine industry and is set to revolutionize how we consume and interact with data on boats.
Signal K
It just so happens that Victron has included a Signal K server as an extended, unsupported option on the Cerbo GX. With either existing, or my own, Signal K plugins, I can do all kinds of automatic logging, and parse/export/archive it as I wish. I’ve still got a lot to learn about all this, but I might post more about it in the future.
Other Projects
Charging panel
Partly related to the new cable runs, I built a new charging panel that I mounted at the nav table:
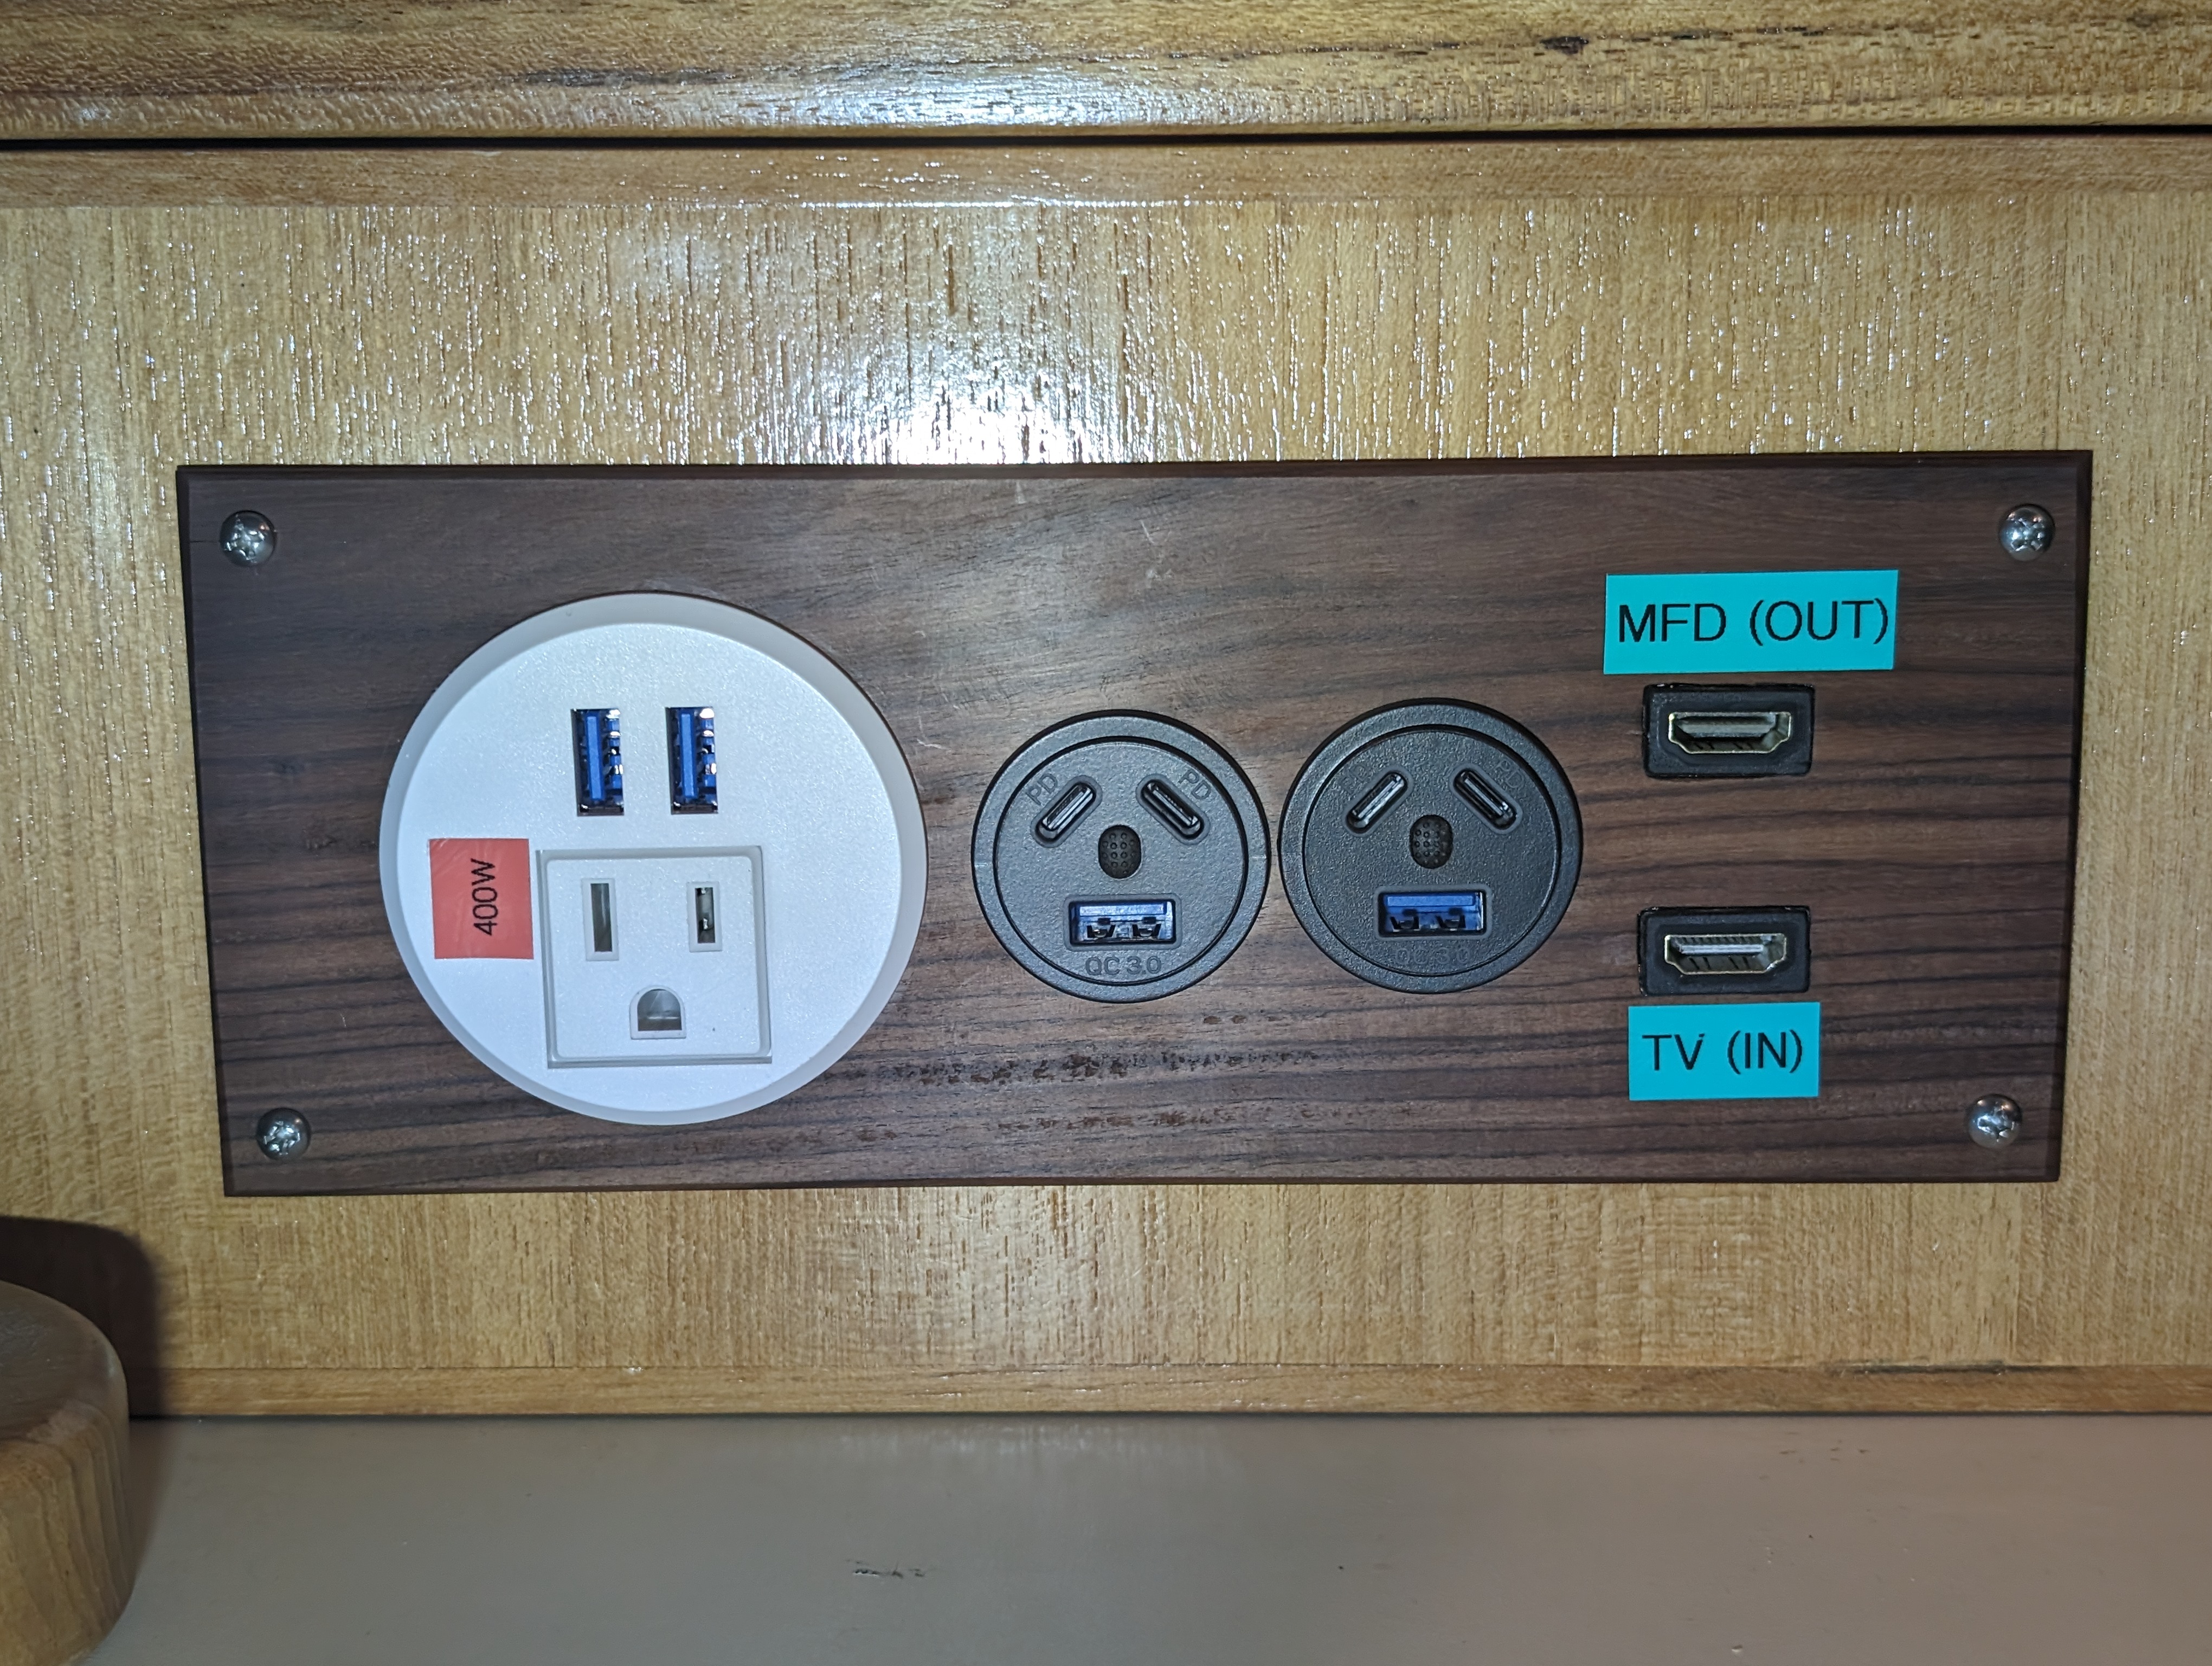
On the left, the white circle plugs into a small 400W inverter behind the panel that the previous owner(s) had used to power a small LCD television. The two black circles, with their USB-C and USB-A ports, run to a breaker switch on the distribution panel.
The HDMI ports are as labeled: the top one is the HDMI output from the Axiom 2, and the bottom is the input for the TV mounted on the wall in the salon. This allows me to display to the TV using my laptop at the nav station or the BluRay player also here (left here by the previous owners–I’ve never actually tried to turn it on!) without running an HDMI cable across the doorway to our cabin or other unsightly methods–instead, it’s routed under the floors!
But more importantly, using a short HDMI cable, I can connect the two ports and mirror the Axiom 2’s display onto the TV, giving the person inside insight into what the person at the helm is doing (if they’re relaxing inside, or making food, etc). This could also be useful on stormy dark nights at anchor to monitor our GPS position and anchor alarm without having to go outside.
Halyards
For the first half of the running rigging replacement, I got new halyards in from Fisheries. I think they look pretty spiffy!
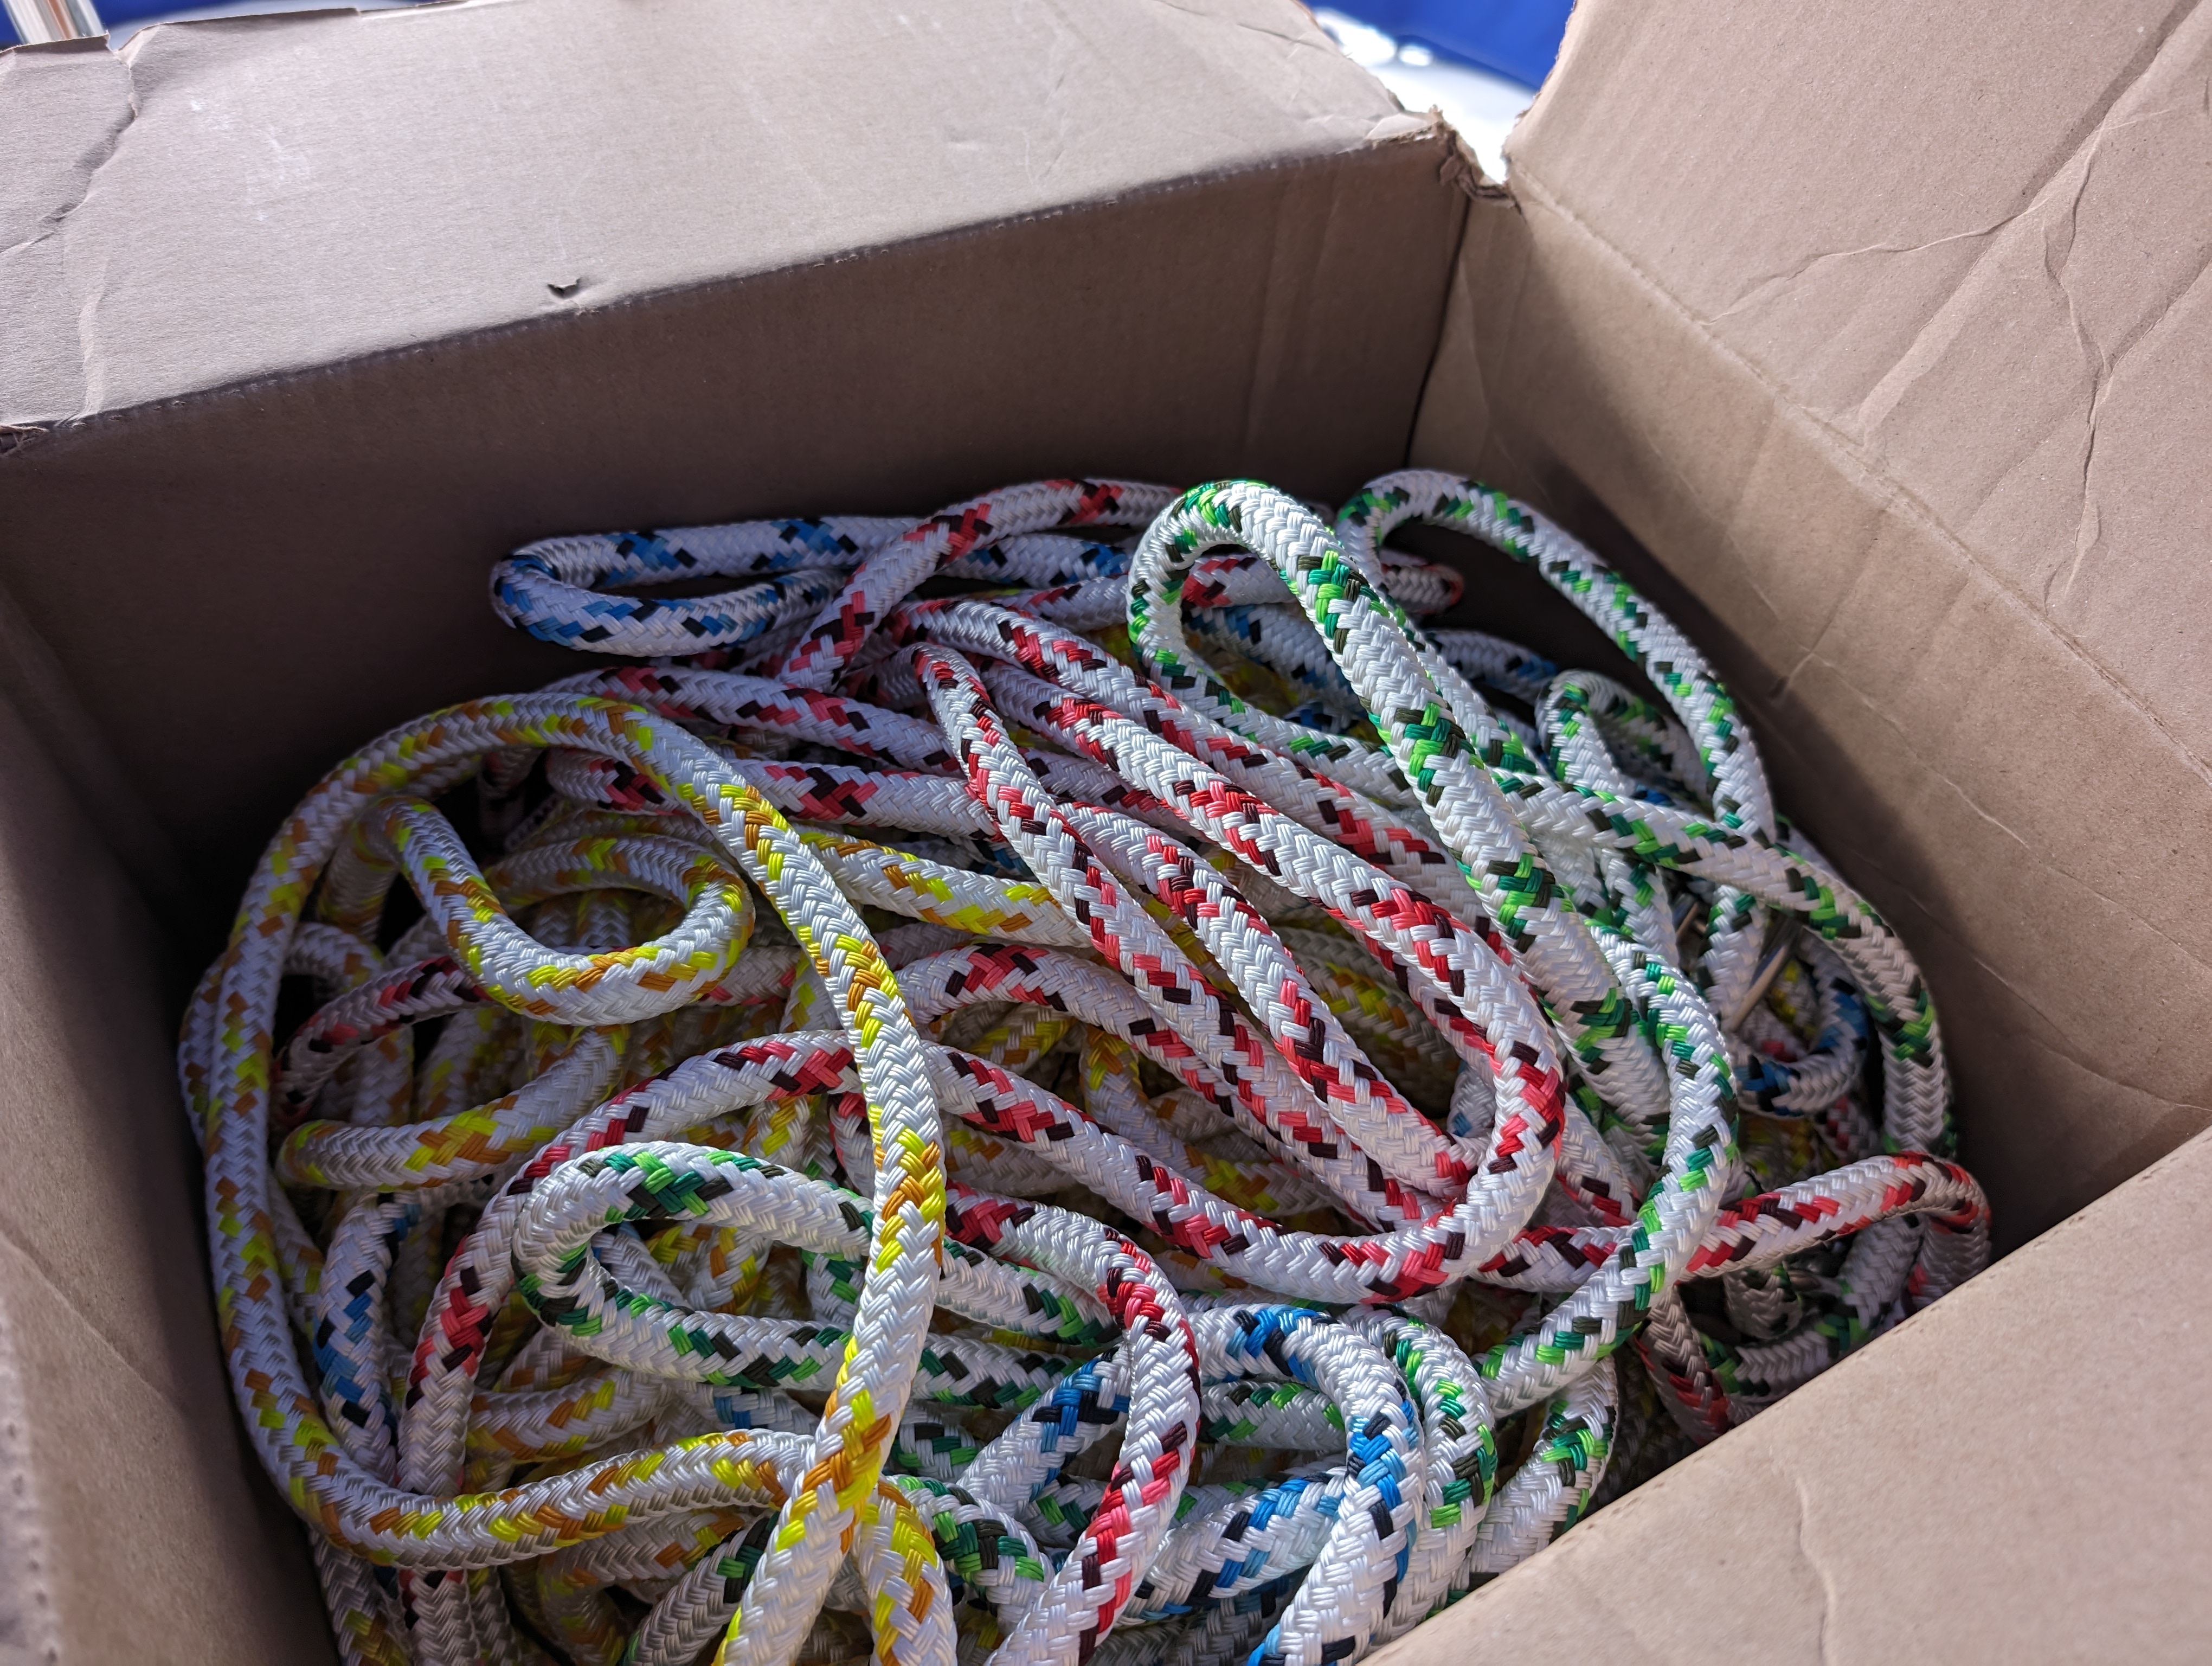
We’ve already got them run (main halyard, jib halyards 1 & 2, and topping lift/backup main/trysail halyard) but I’ll hold off on pictures until we get the rest of the running rigging.
Life raft
Our Viking RescYou Pro 4-person arrived, and now I need to mount it on the rails on the transom:
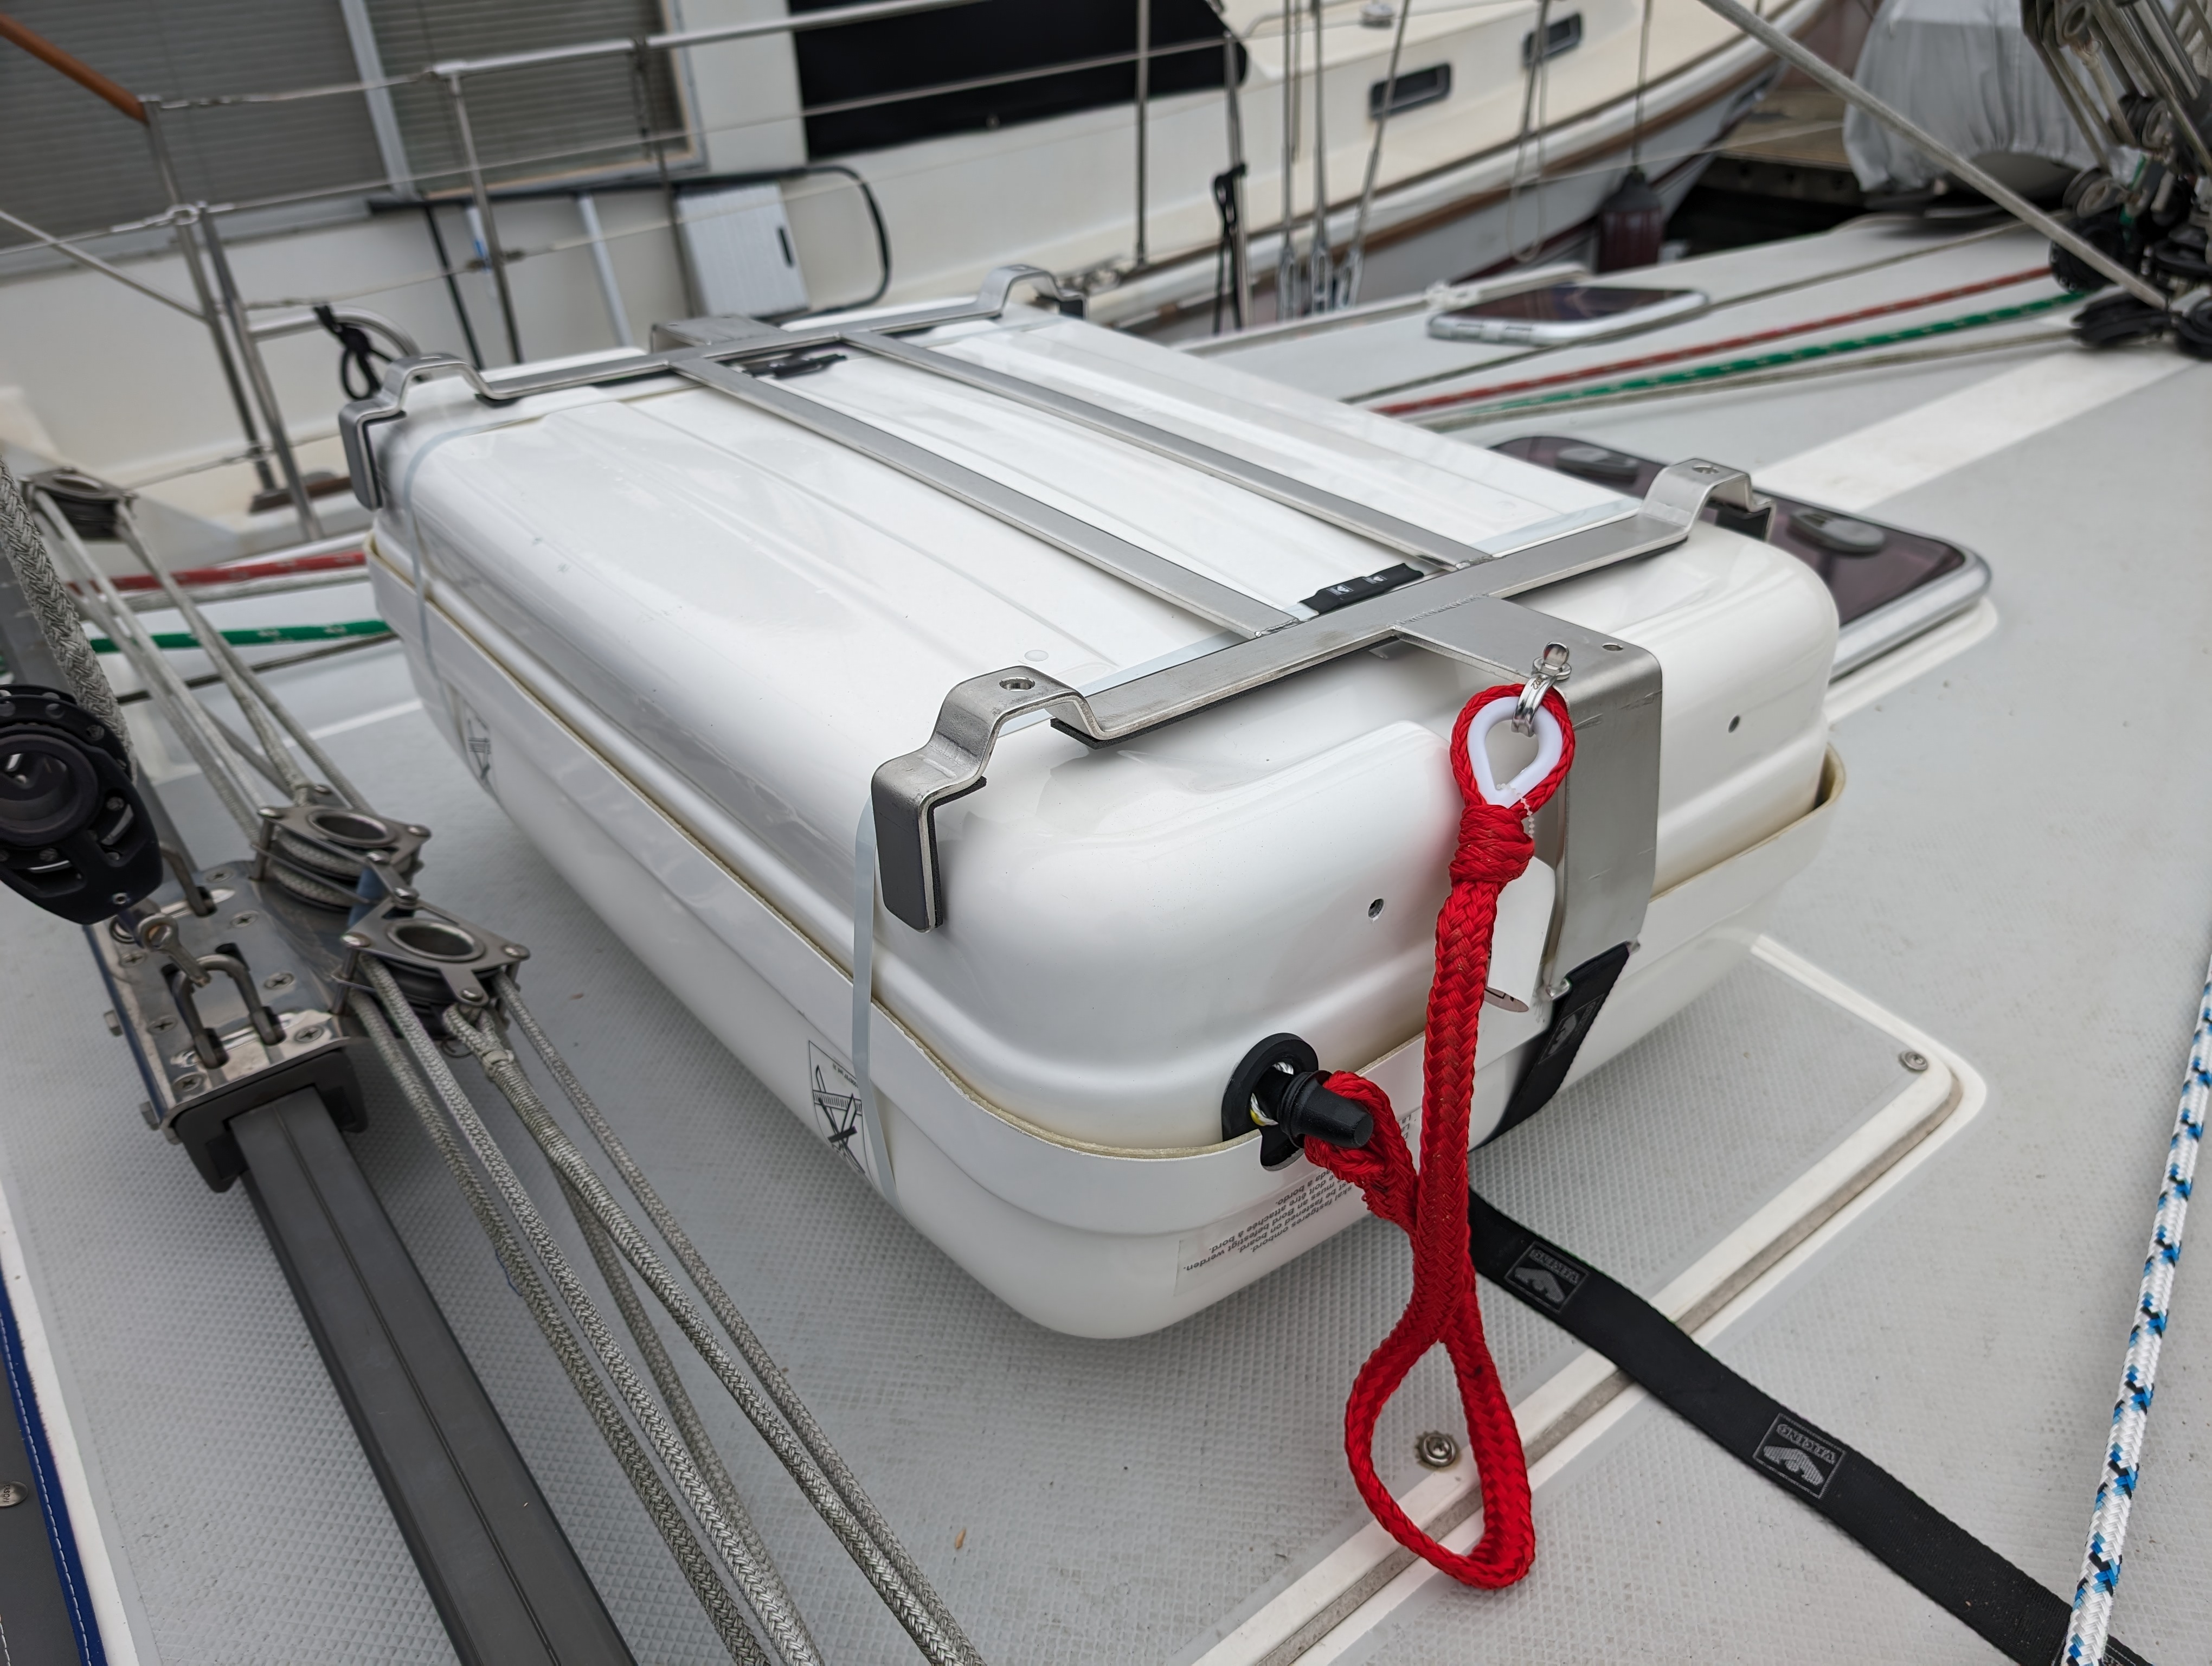
This is something we hope we’ll never need to use, but if we do, I made sure to buy one of the very best.
Watermaker
Here’s a significant one: a Schenker Zen 50, which will convert salt water to fresh drinking water for us at 13 gallons/hour for only 240W:
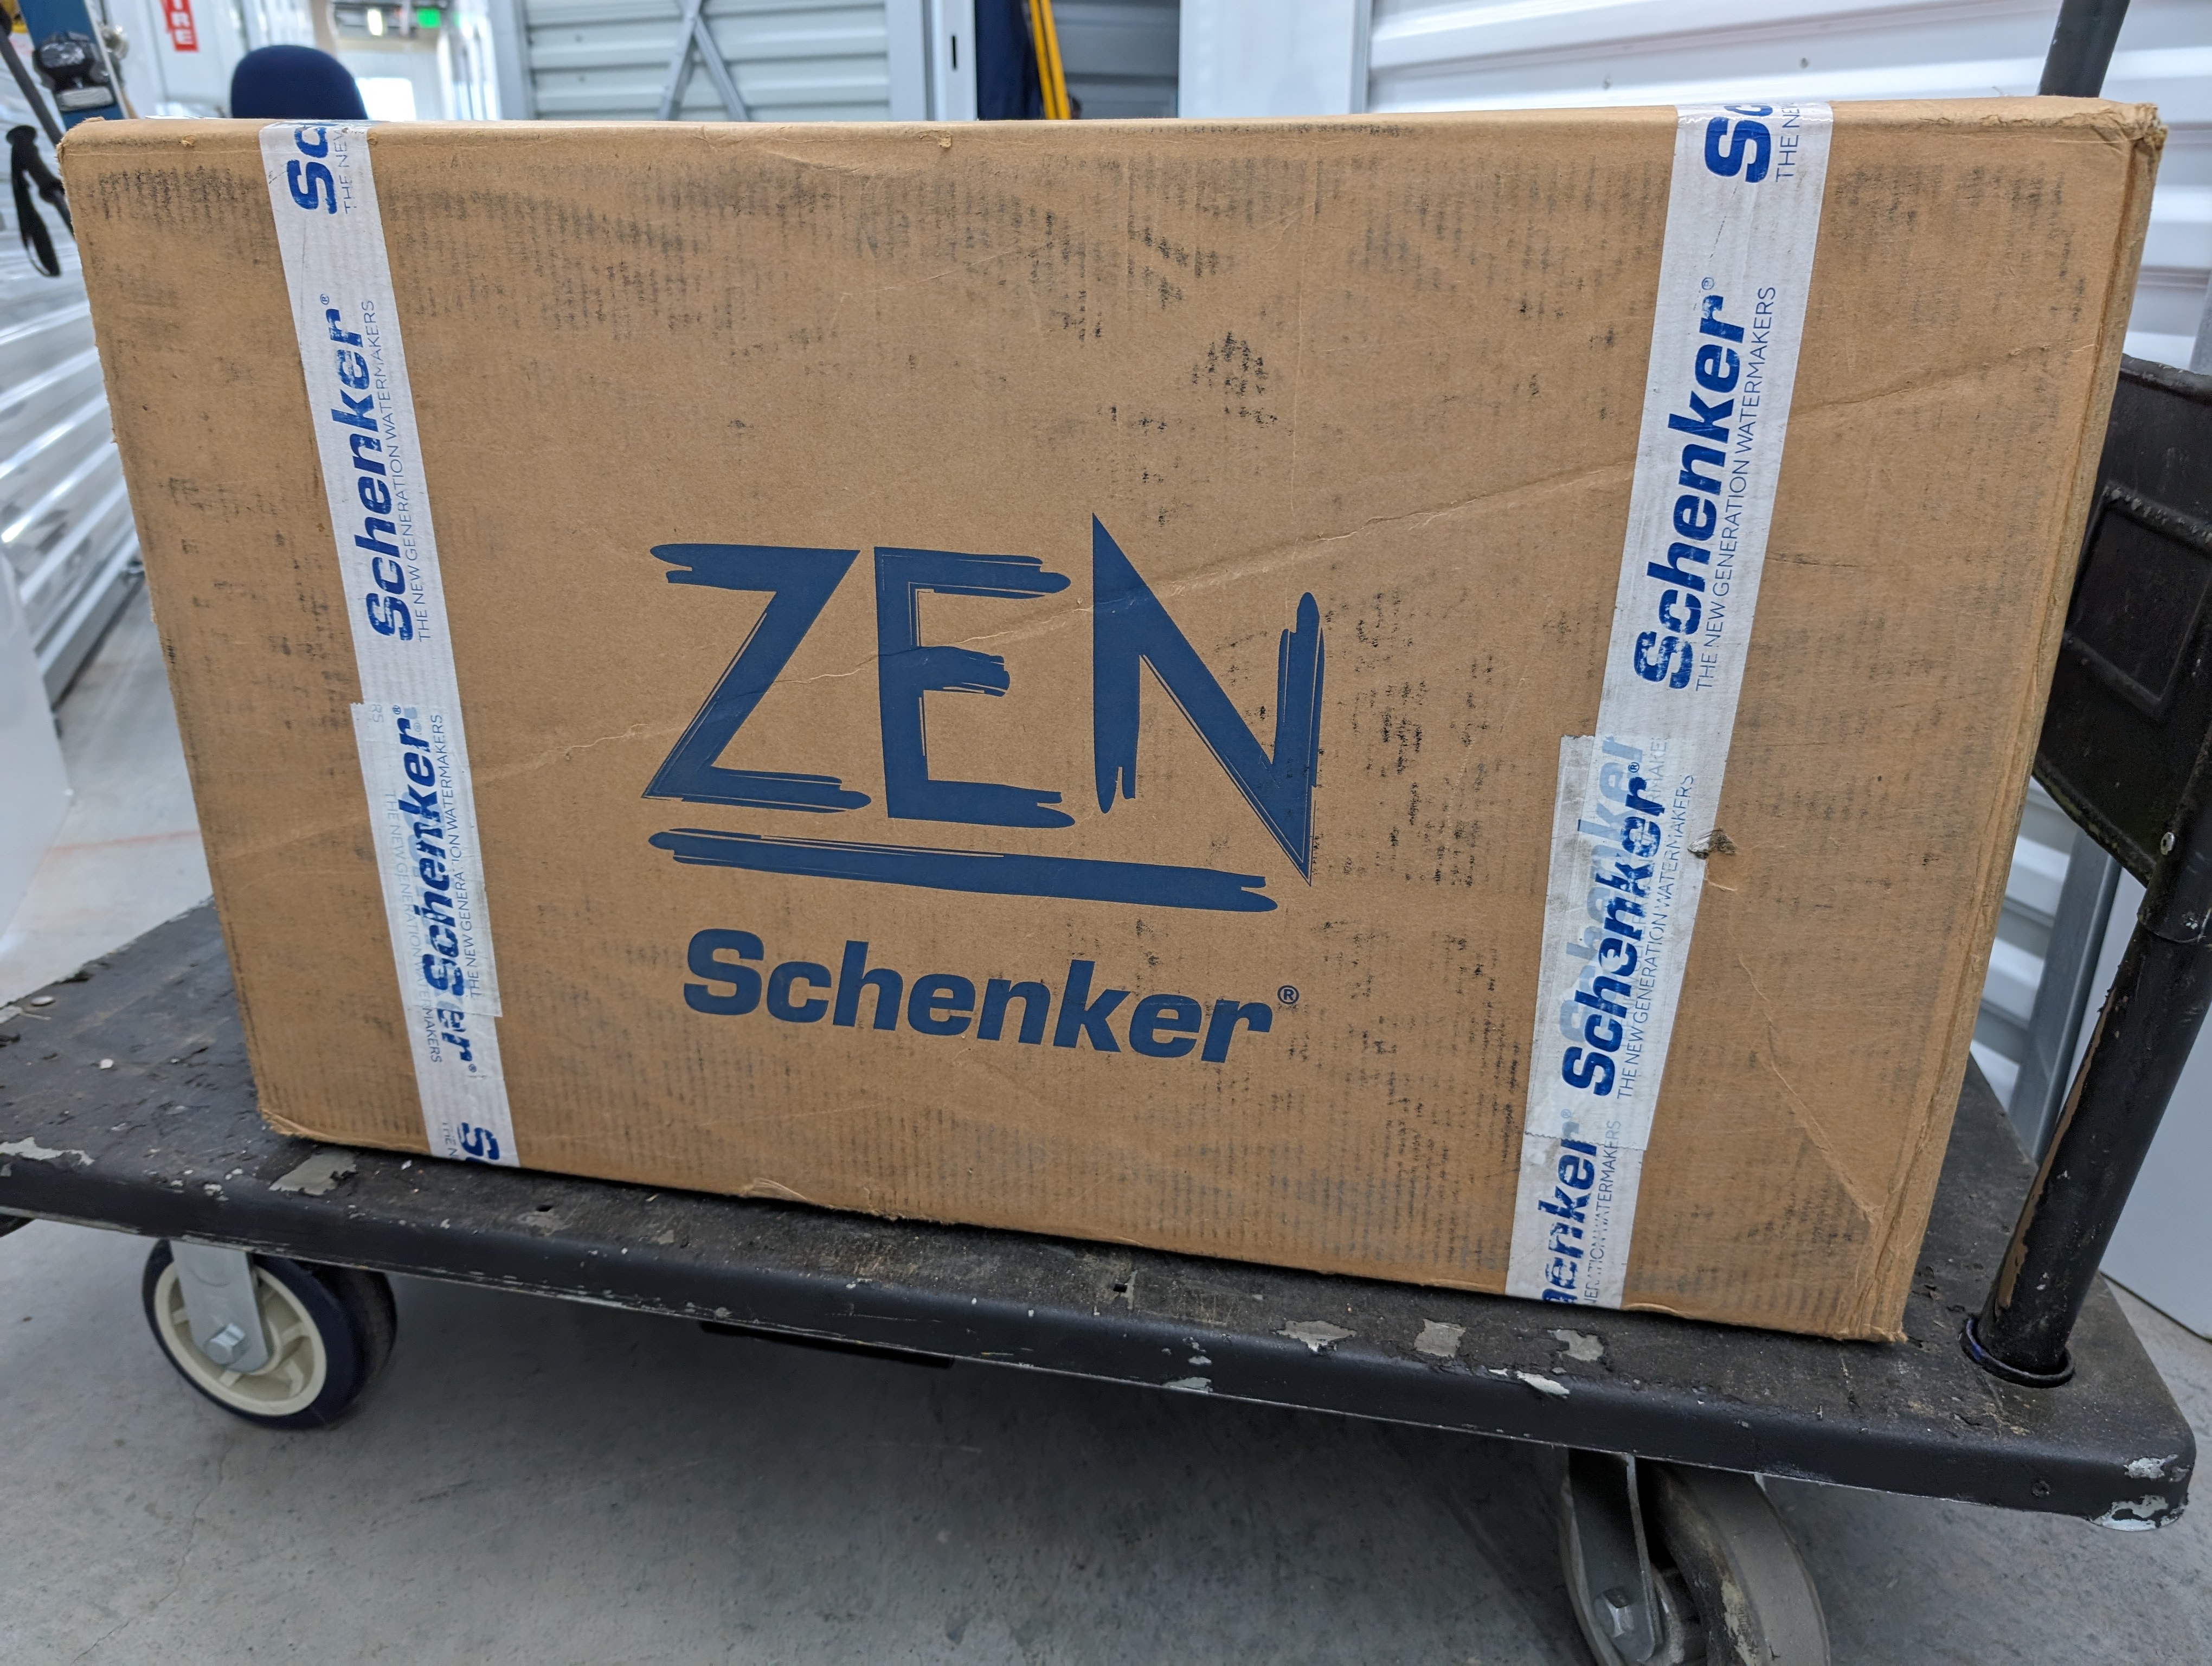
This is going to have to sit in my storage unit for a few months while we get these other projects out of the way, but I’m sure I’ll make a post about the installation here.
More details, and especially more pictures and screenshots of the full setup, coming in the next few weeks!
A quick gripe
The original installers (and whoever designed the install) for the wiring (particularly small cables related to the nav system) are some grade-A jerks. The way the system was installed, there was clearly no thought at all given to upgradability or maintainability, and I’ve found (and will be using) better cable routes, that are even already used for some of the electrical cabling! Don’t install cables under floors that don’t easily come up. Come on, people. Think about the people who will be working on a boat after you when you work on your boat, or any boat!
That shoddy/poorly thought-out work extends to not labeling cables. I have a large mess of negative cables on a negative bus bar behind my distributor panel that I have no reasonable way of easily tracing, or even removing, because they’re bundled together (with zip ties) inside those horrid corrugated plastic cable conduits. I’m sadly having to resort to clipping many of these cables and then labeling the clipped ends with what it used to be, because even cut at both ends I can’t pull the cables through in either direction–the positive ends, at least. The negatives I’m, for the most part, going to leave connected to the bus bar, and add a secondary smaller negative bus bar next to it with the new (labeled) equipment connected… and an apology to future workers/owners.
If I ever design/build a boat, it will be created with upgradability and maintainability in mind.
Alright, rant over.
I enjoy reading these updates. Amazing progress!